

Stashboard Configuration
Supports SMS stashboard or email.
Before Getting Started
Important: Make sure you are collecting SMS consent from your end users before sending any messages.
If your Klaviyo account does not allow you to collect SMS consent through Klaviyo forms, please use a Springbig form instead.
Collecting proper consent from your customers is required to ensure compliance before sending SMS communications.
What You'll Learn
- How to setup a API Triggered Autoconnect
- Send stashboard messages directly from Klaviyo Flows
- Securely configure API credentials with Springbig
What are Autoconnects
Autoconnects are campaigns triggered to an individual members based on certain metrics. Some of the existing Autoconnects metrics on the springbig platform are: birthday, after join, after visit etc.
Autoconnects deliver messages to the member through Springbig's stashboard feature.
This API gives the merchant the ability to send a stashboard message based on their own metrics (ie: Abandoned cart, delivery order status, etc..).
Creating an Autoconnect campaign
In order to send messages through this API the merchant will need to create an autoconnect and configure the stashboard content. See this document on creating autoconnects. This is the message that will be delivered to the member.
How to Retrieve ID's (auto_campaign_id + auto_campaign_scope_id
You will need to retrieve two identifiers that will be included in your Klaviyo Flows configuration. See video below indicating how to properly retrieve these values.
🛠 Setup SMS Message Flow in Klaviyo
Step 1: Access Flows
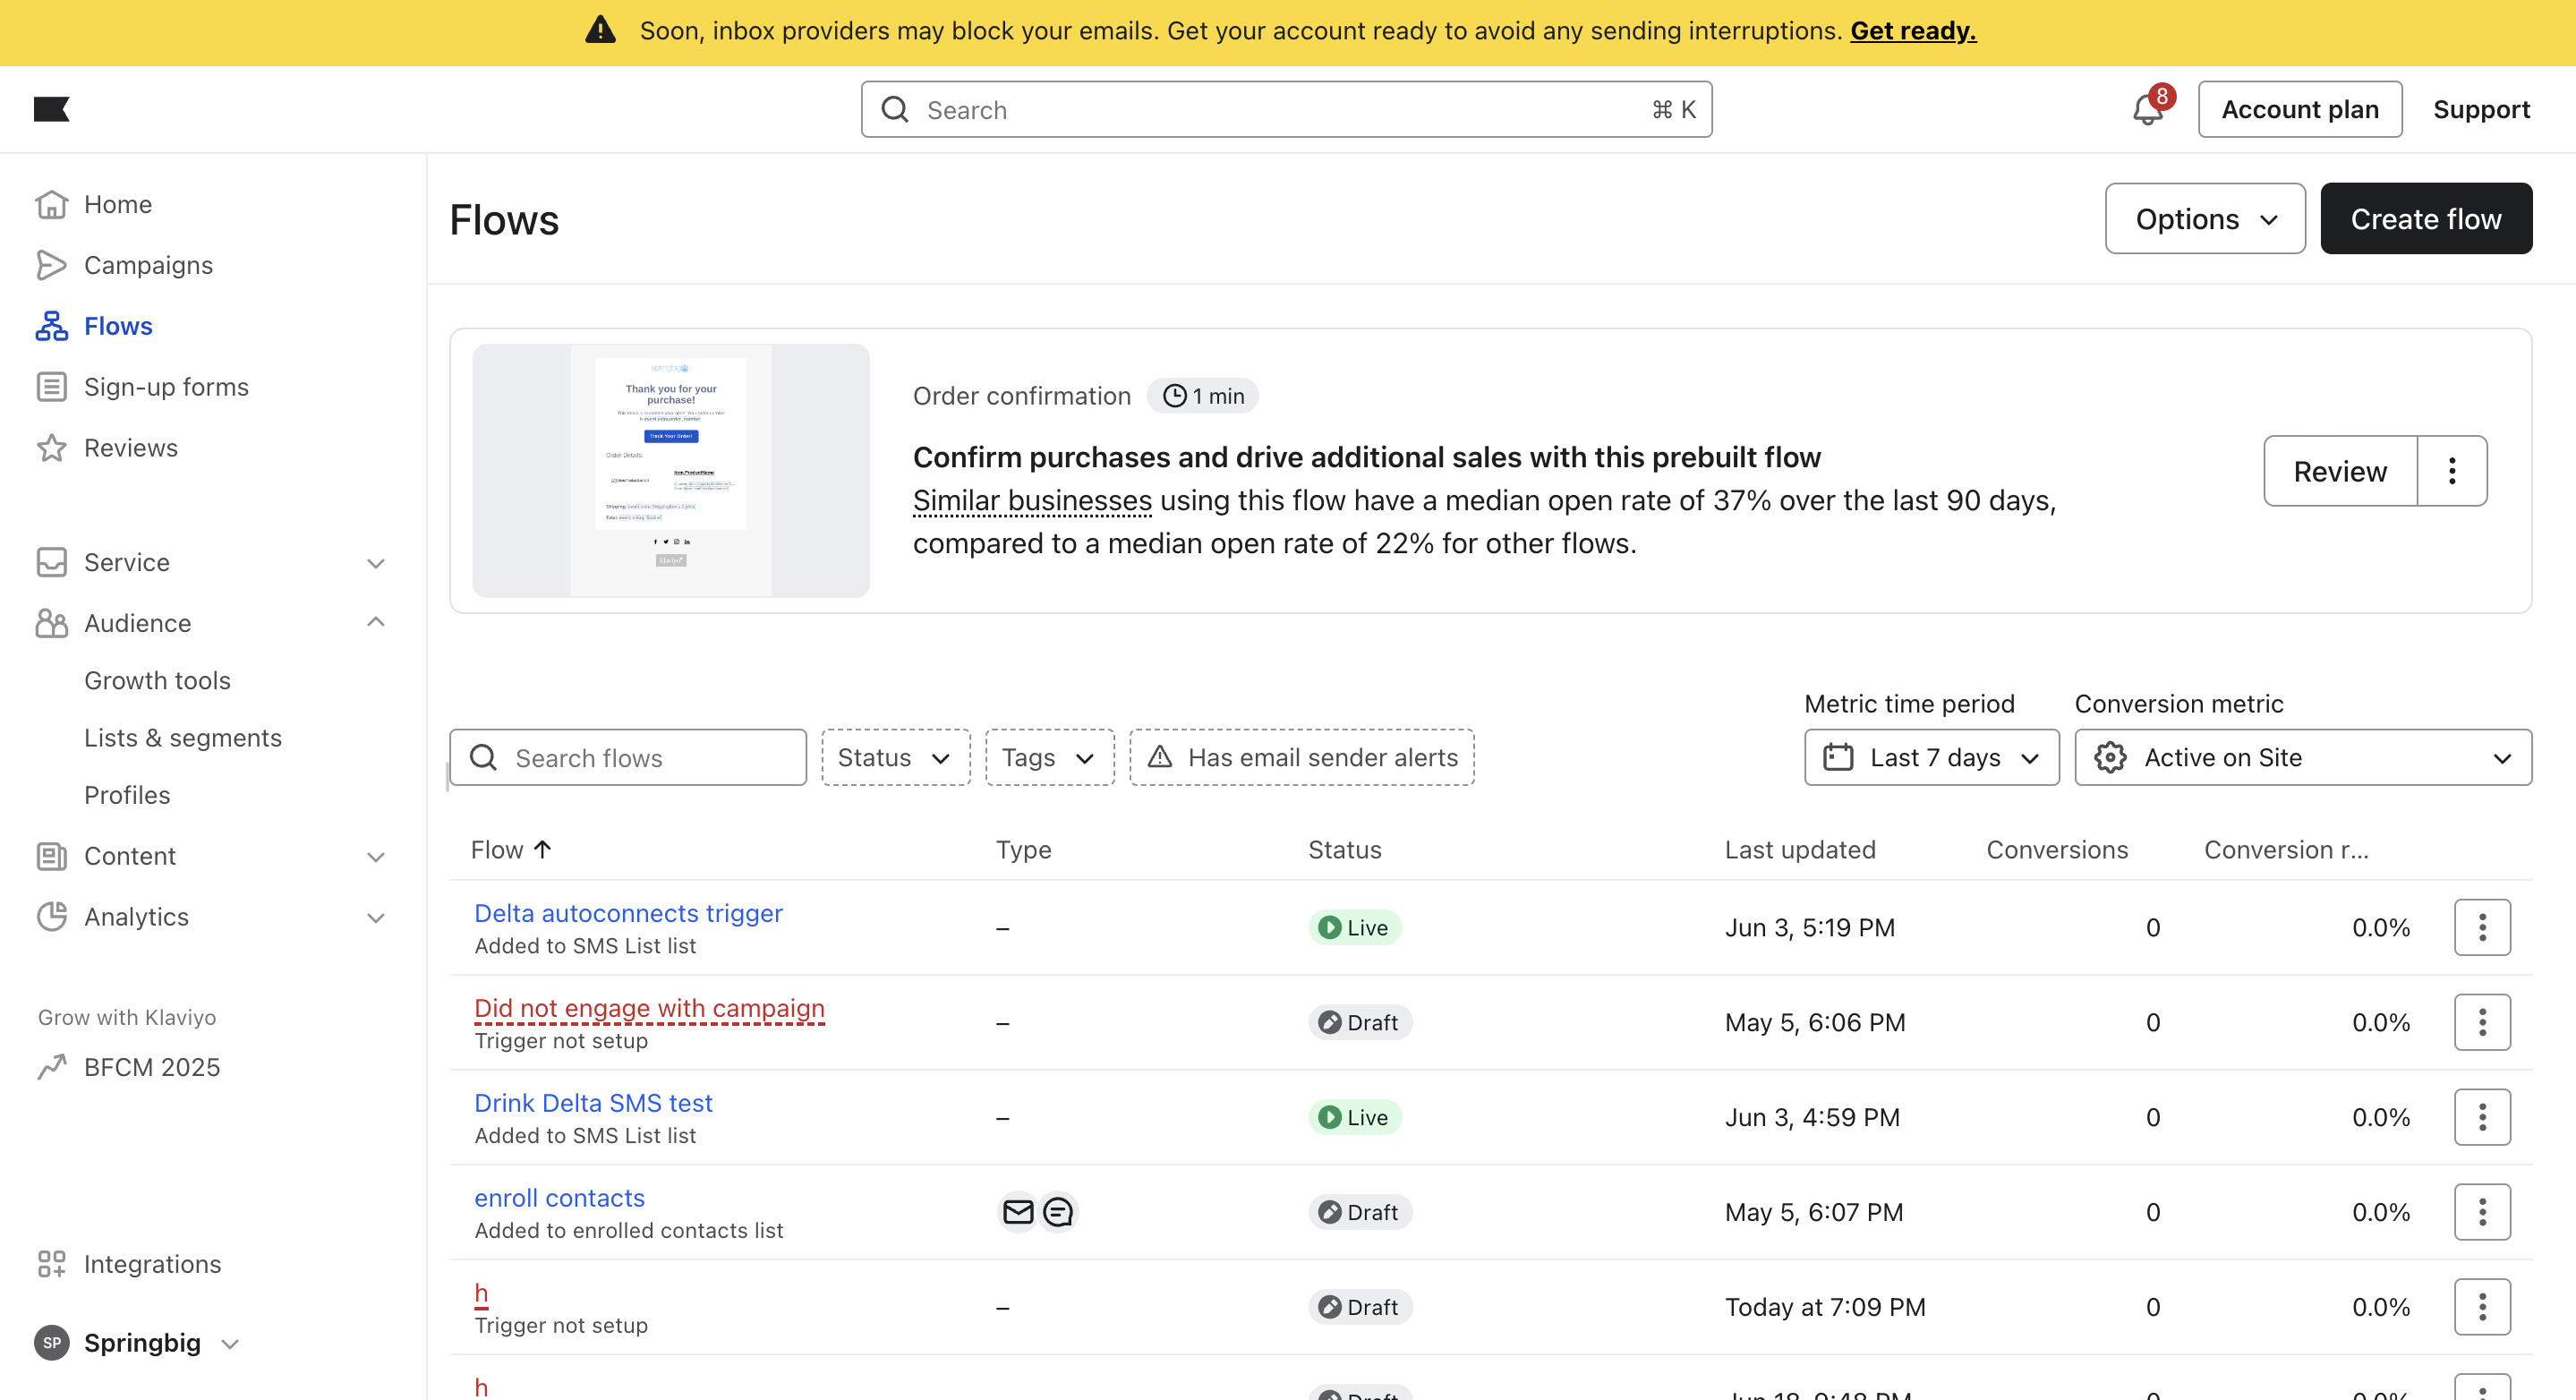
- From your Klaviyo dashboard, click Flows in the left-hand menu.
- Click Create Flow in the top-right corner.
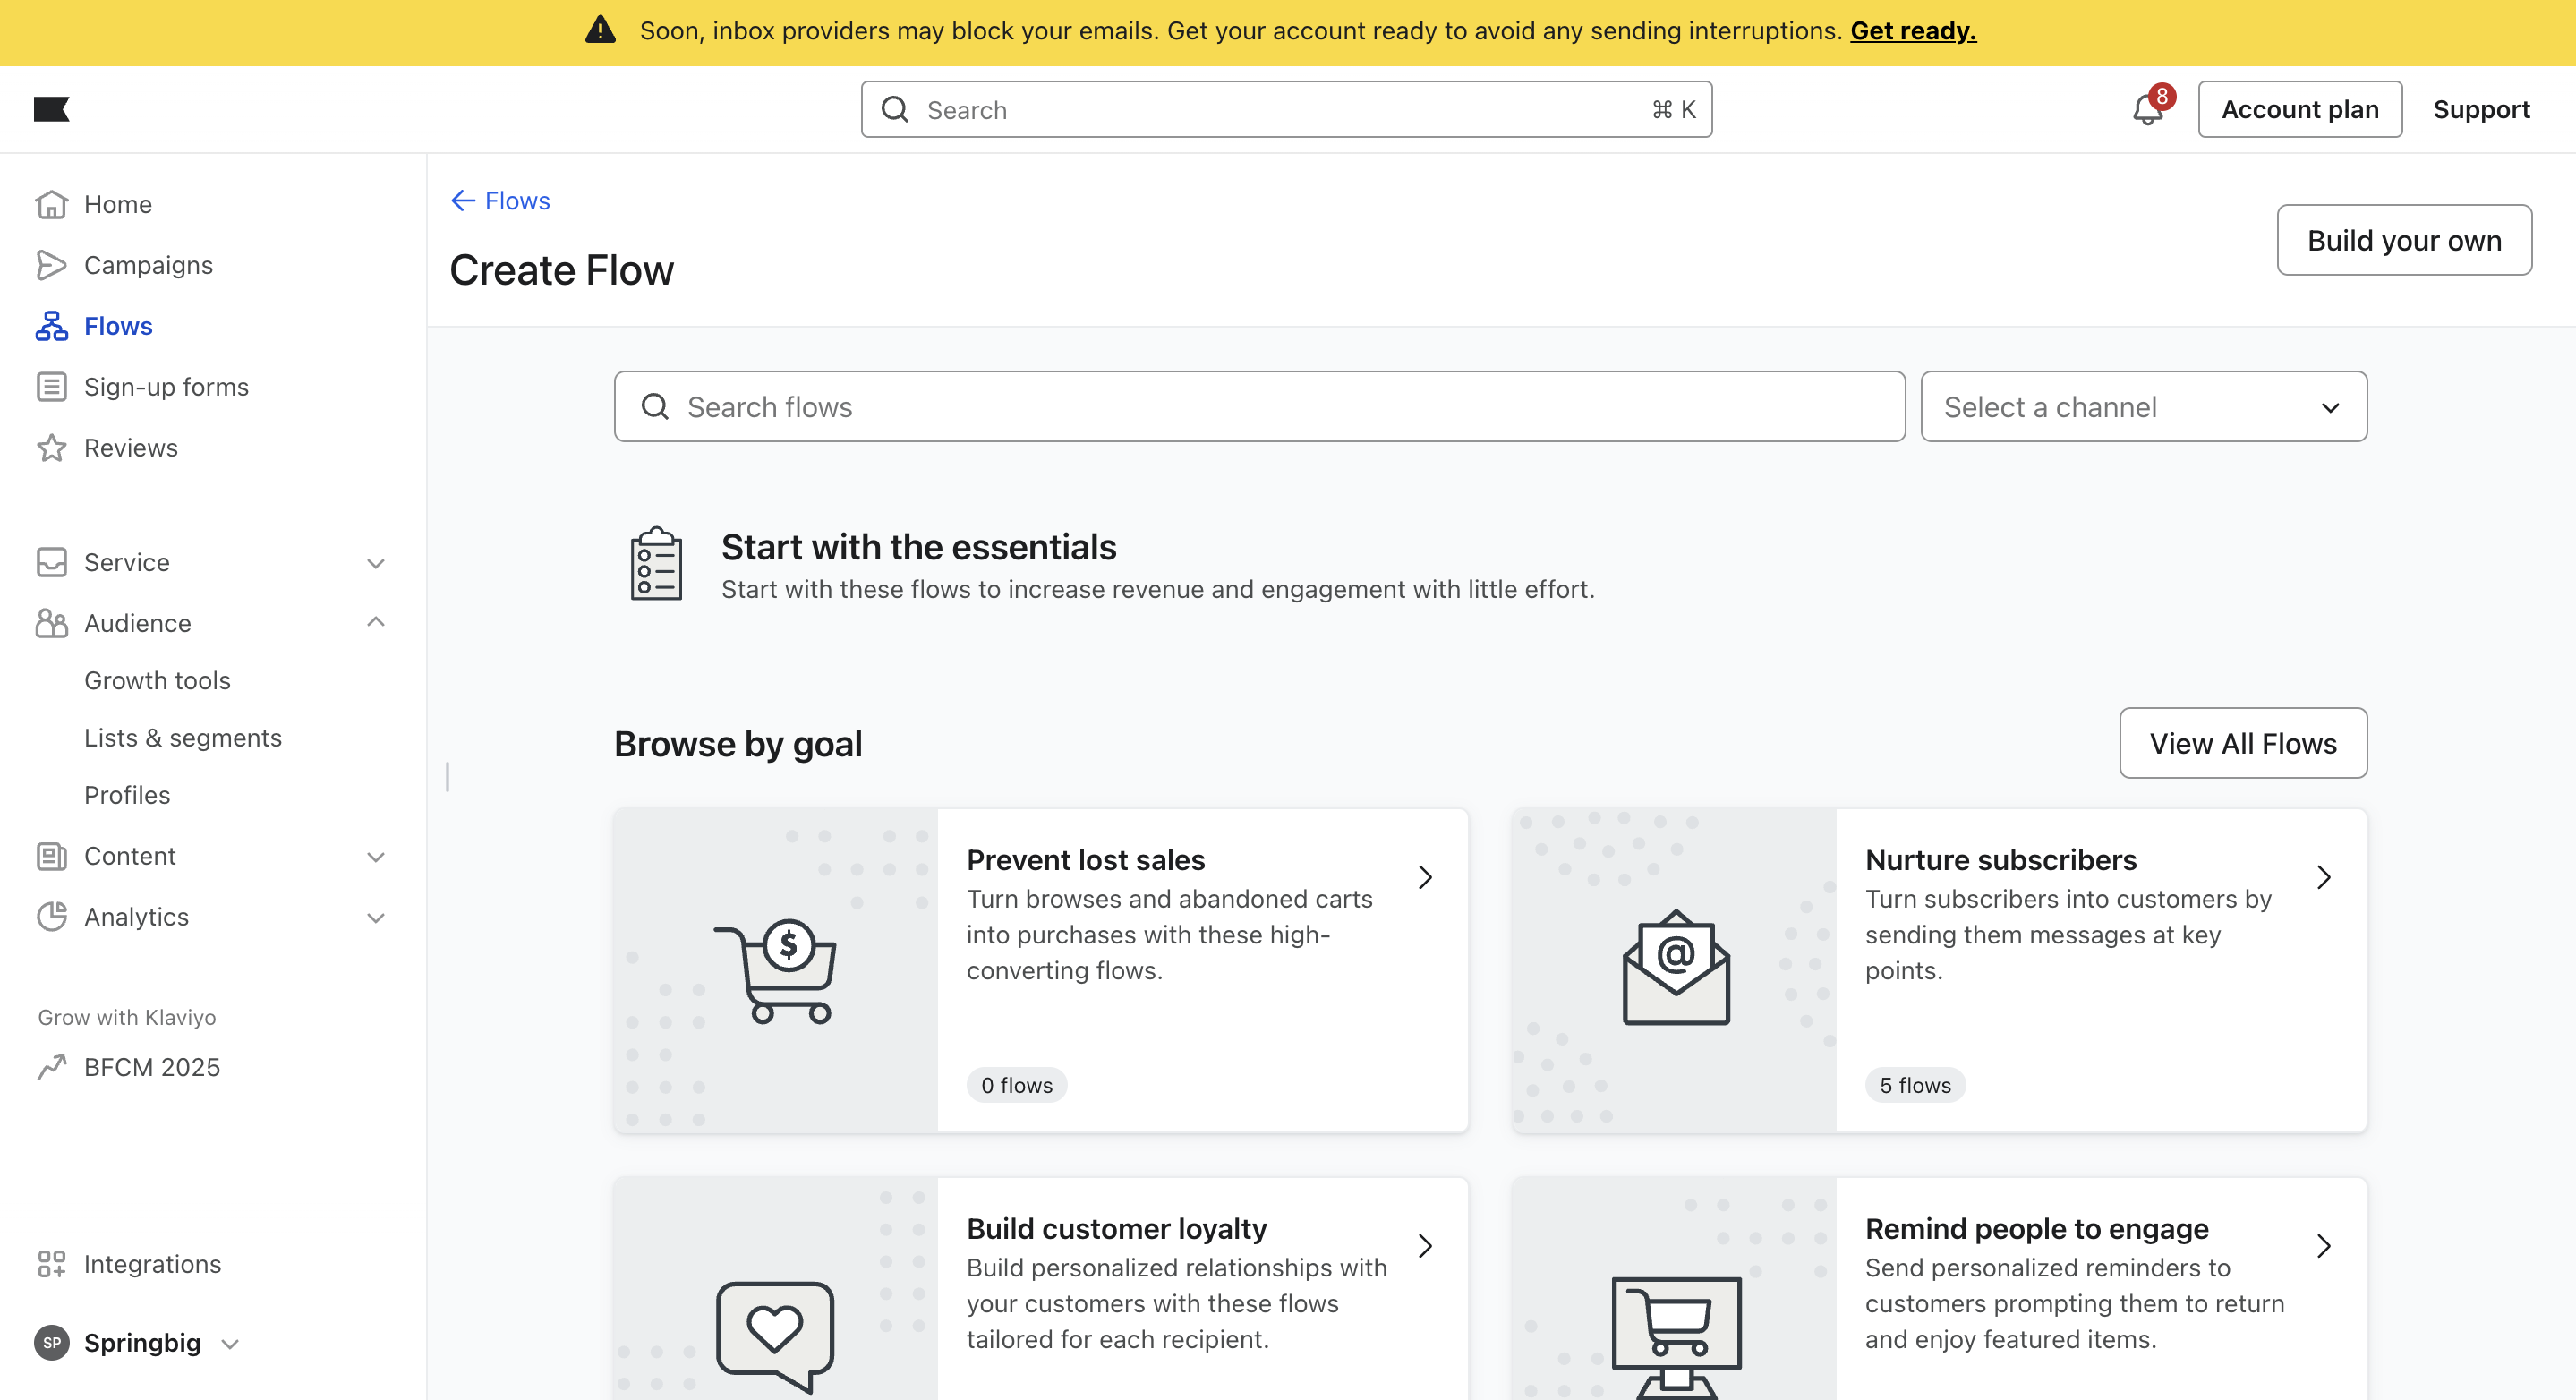
- Click Build your own
Step 2: Name your Flow
-
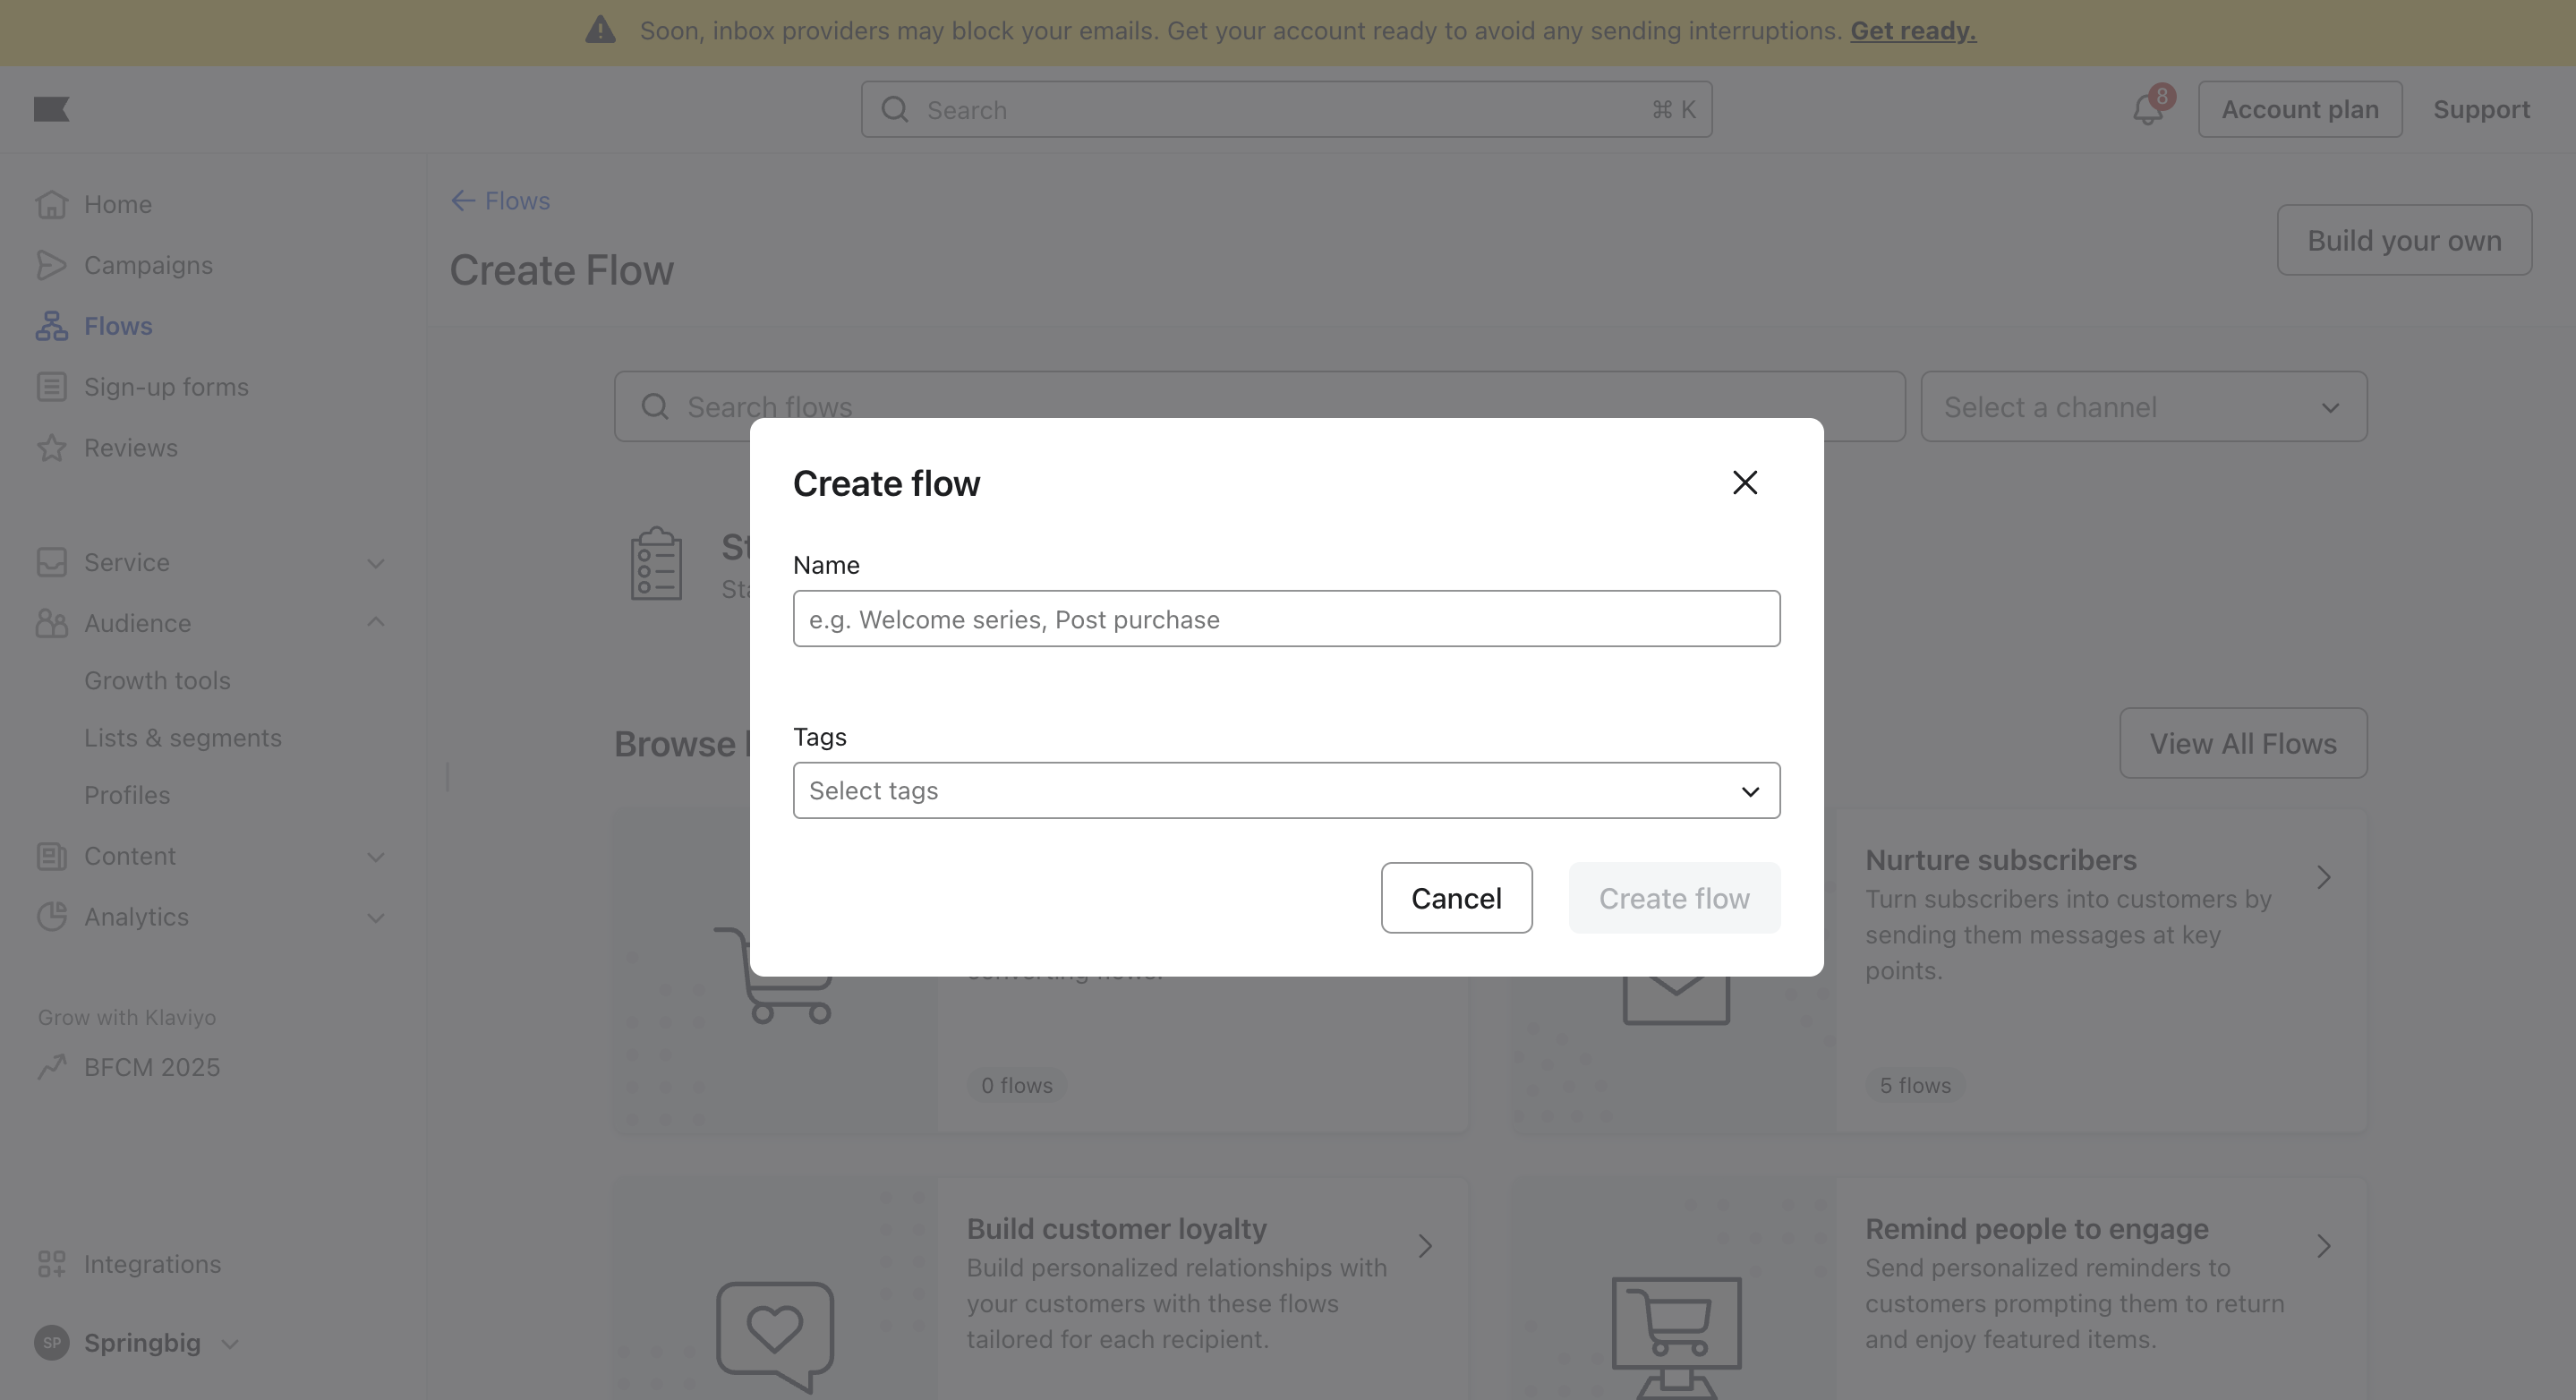
Enter a descriptive flow name, for example:
{{Your List Name}} + Springbig Webhook
Use a name that reflects the specific Klaviyo list and purpose, so it’s clear this flow syncs that list to Springbig.
Step 3: Add a Trigger
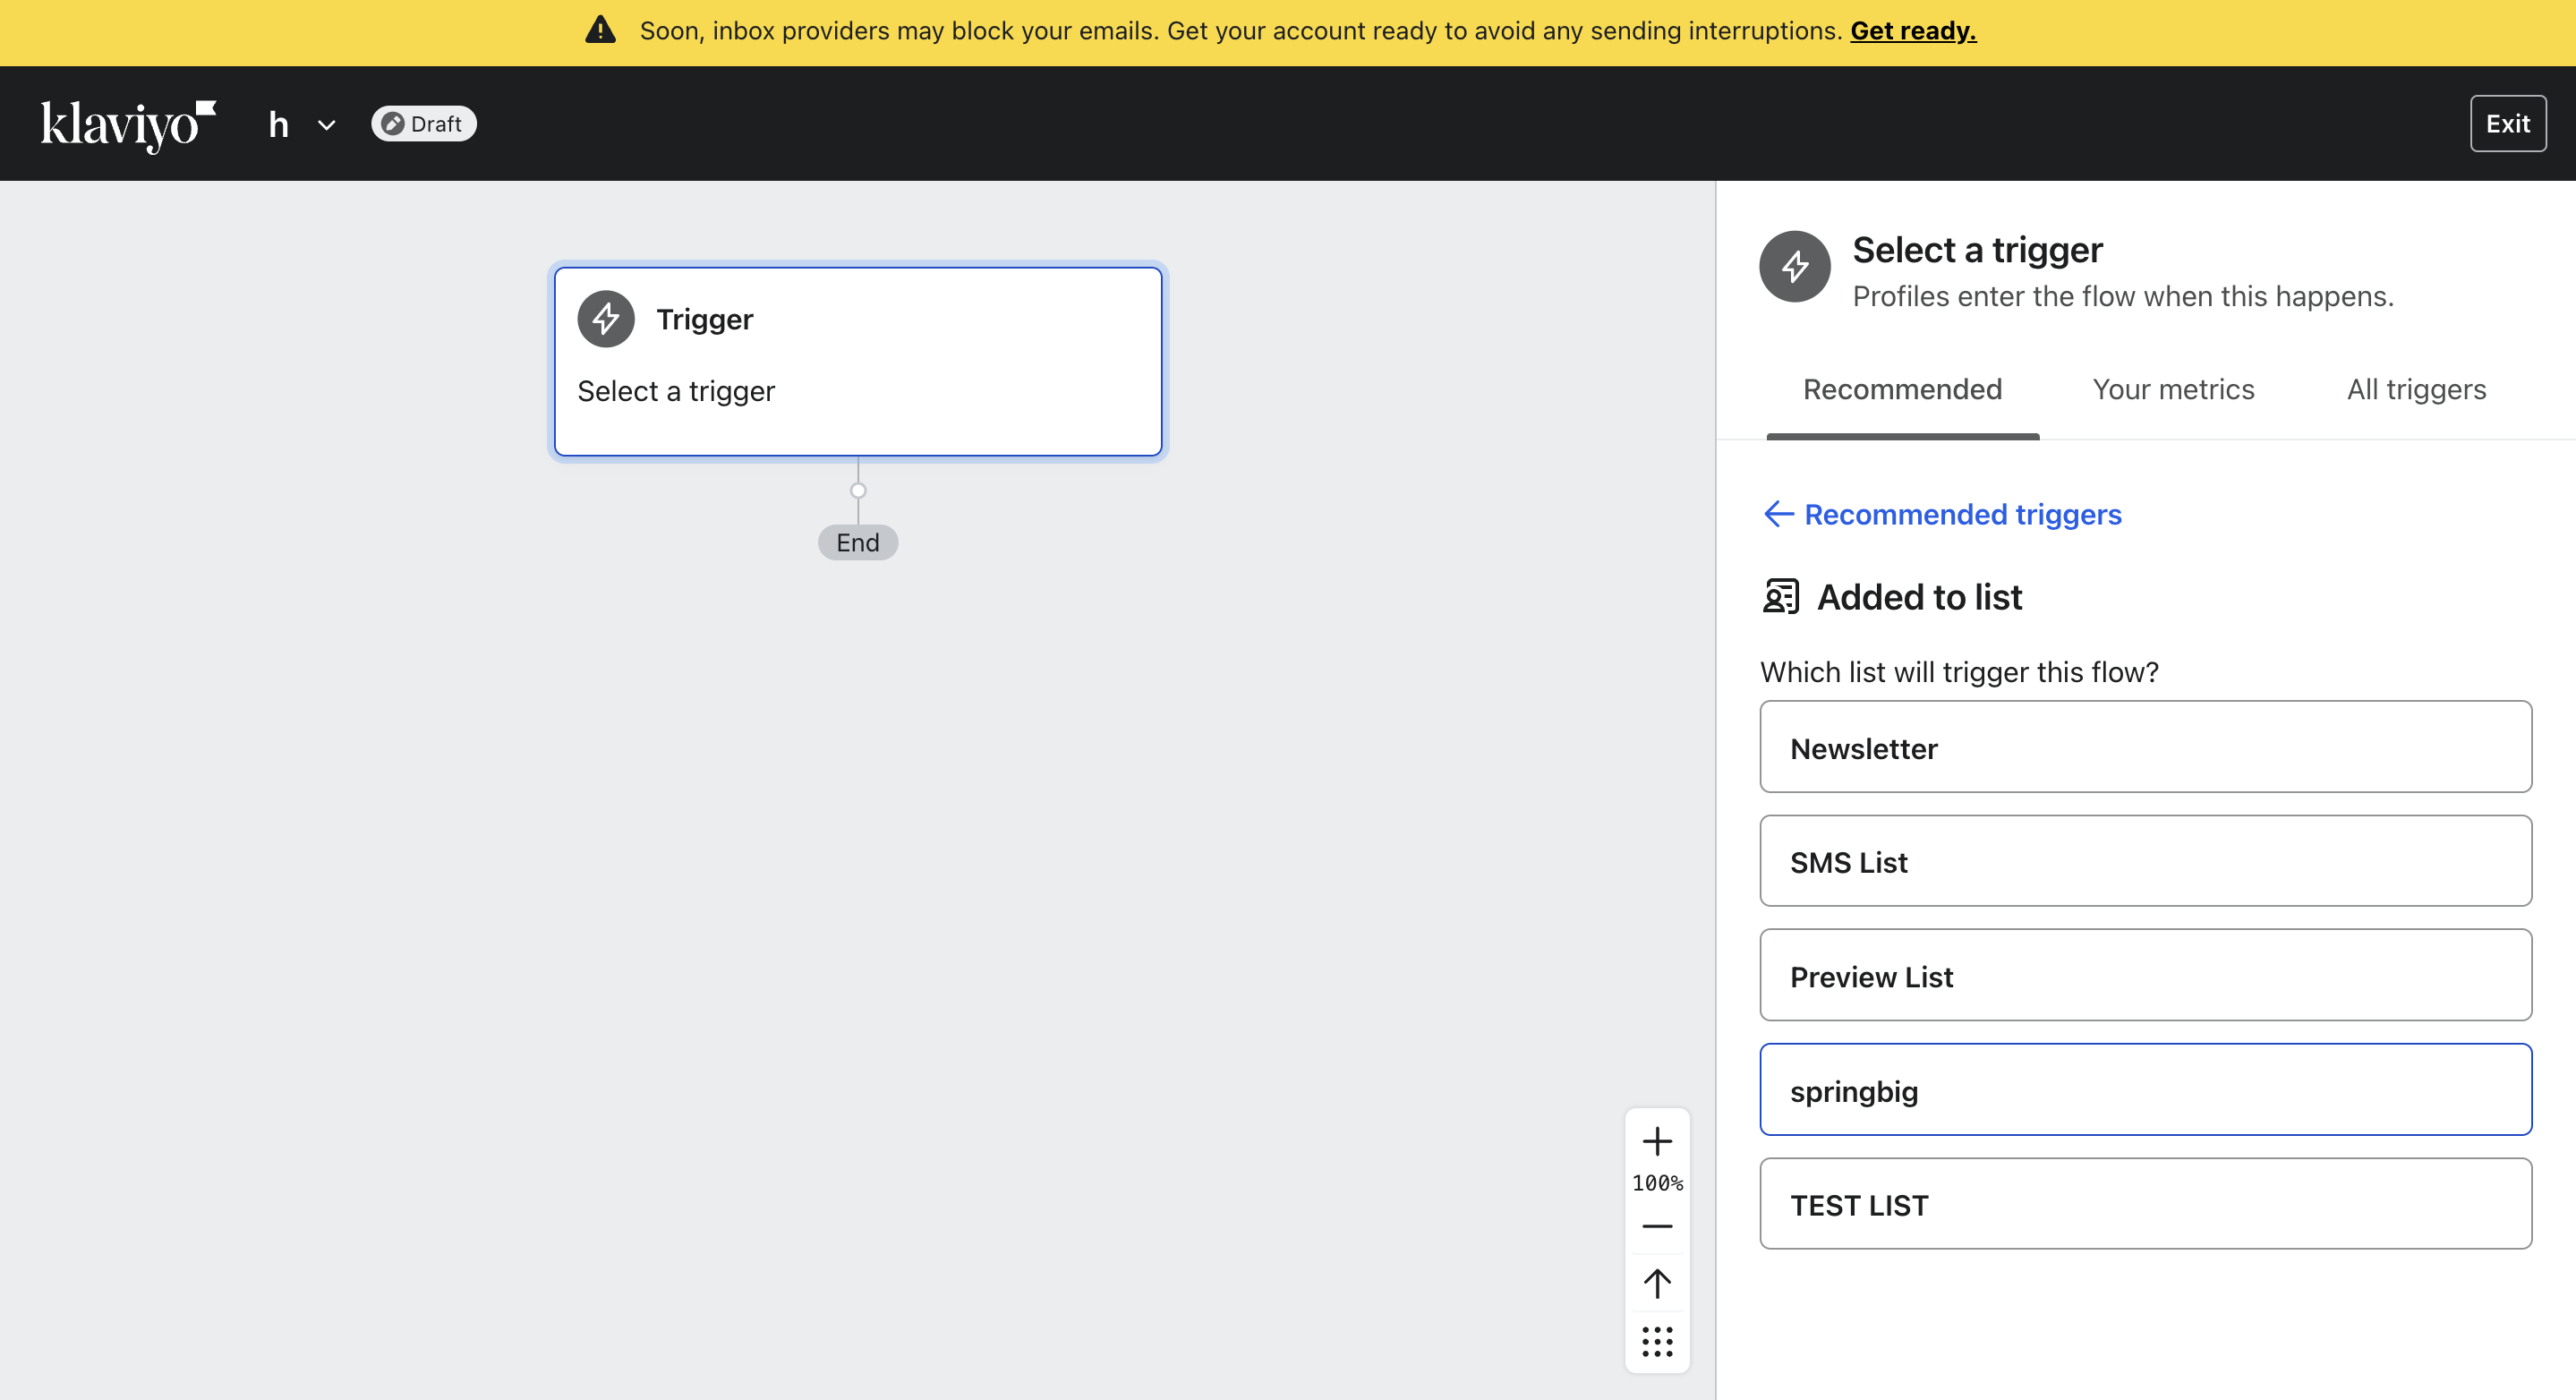
- Choose from the list of triggers or design your own
- For this guide we will be using the example of 'Customer added to list'.
Step 4: Add a Webhook Action
-
In the flow builder, drag and drop a Webhook under the trigger.
-
Give the webhook a descriptive name, such as:
Springbig SMS Trigger
Use a name that makes it easy to identify this webhook as your SMS message trigger.
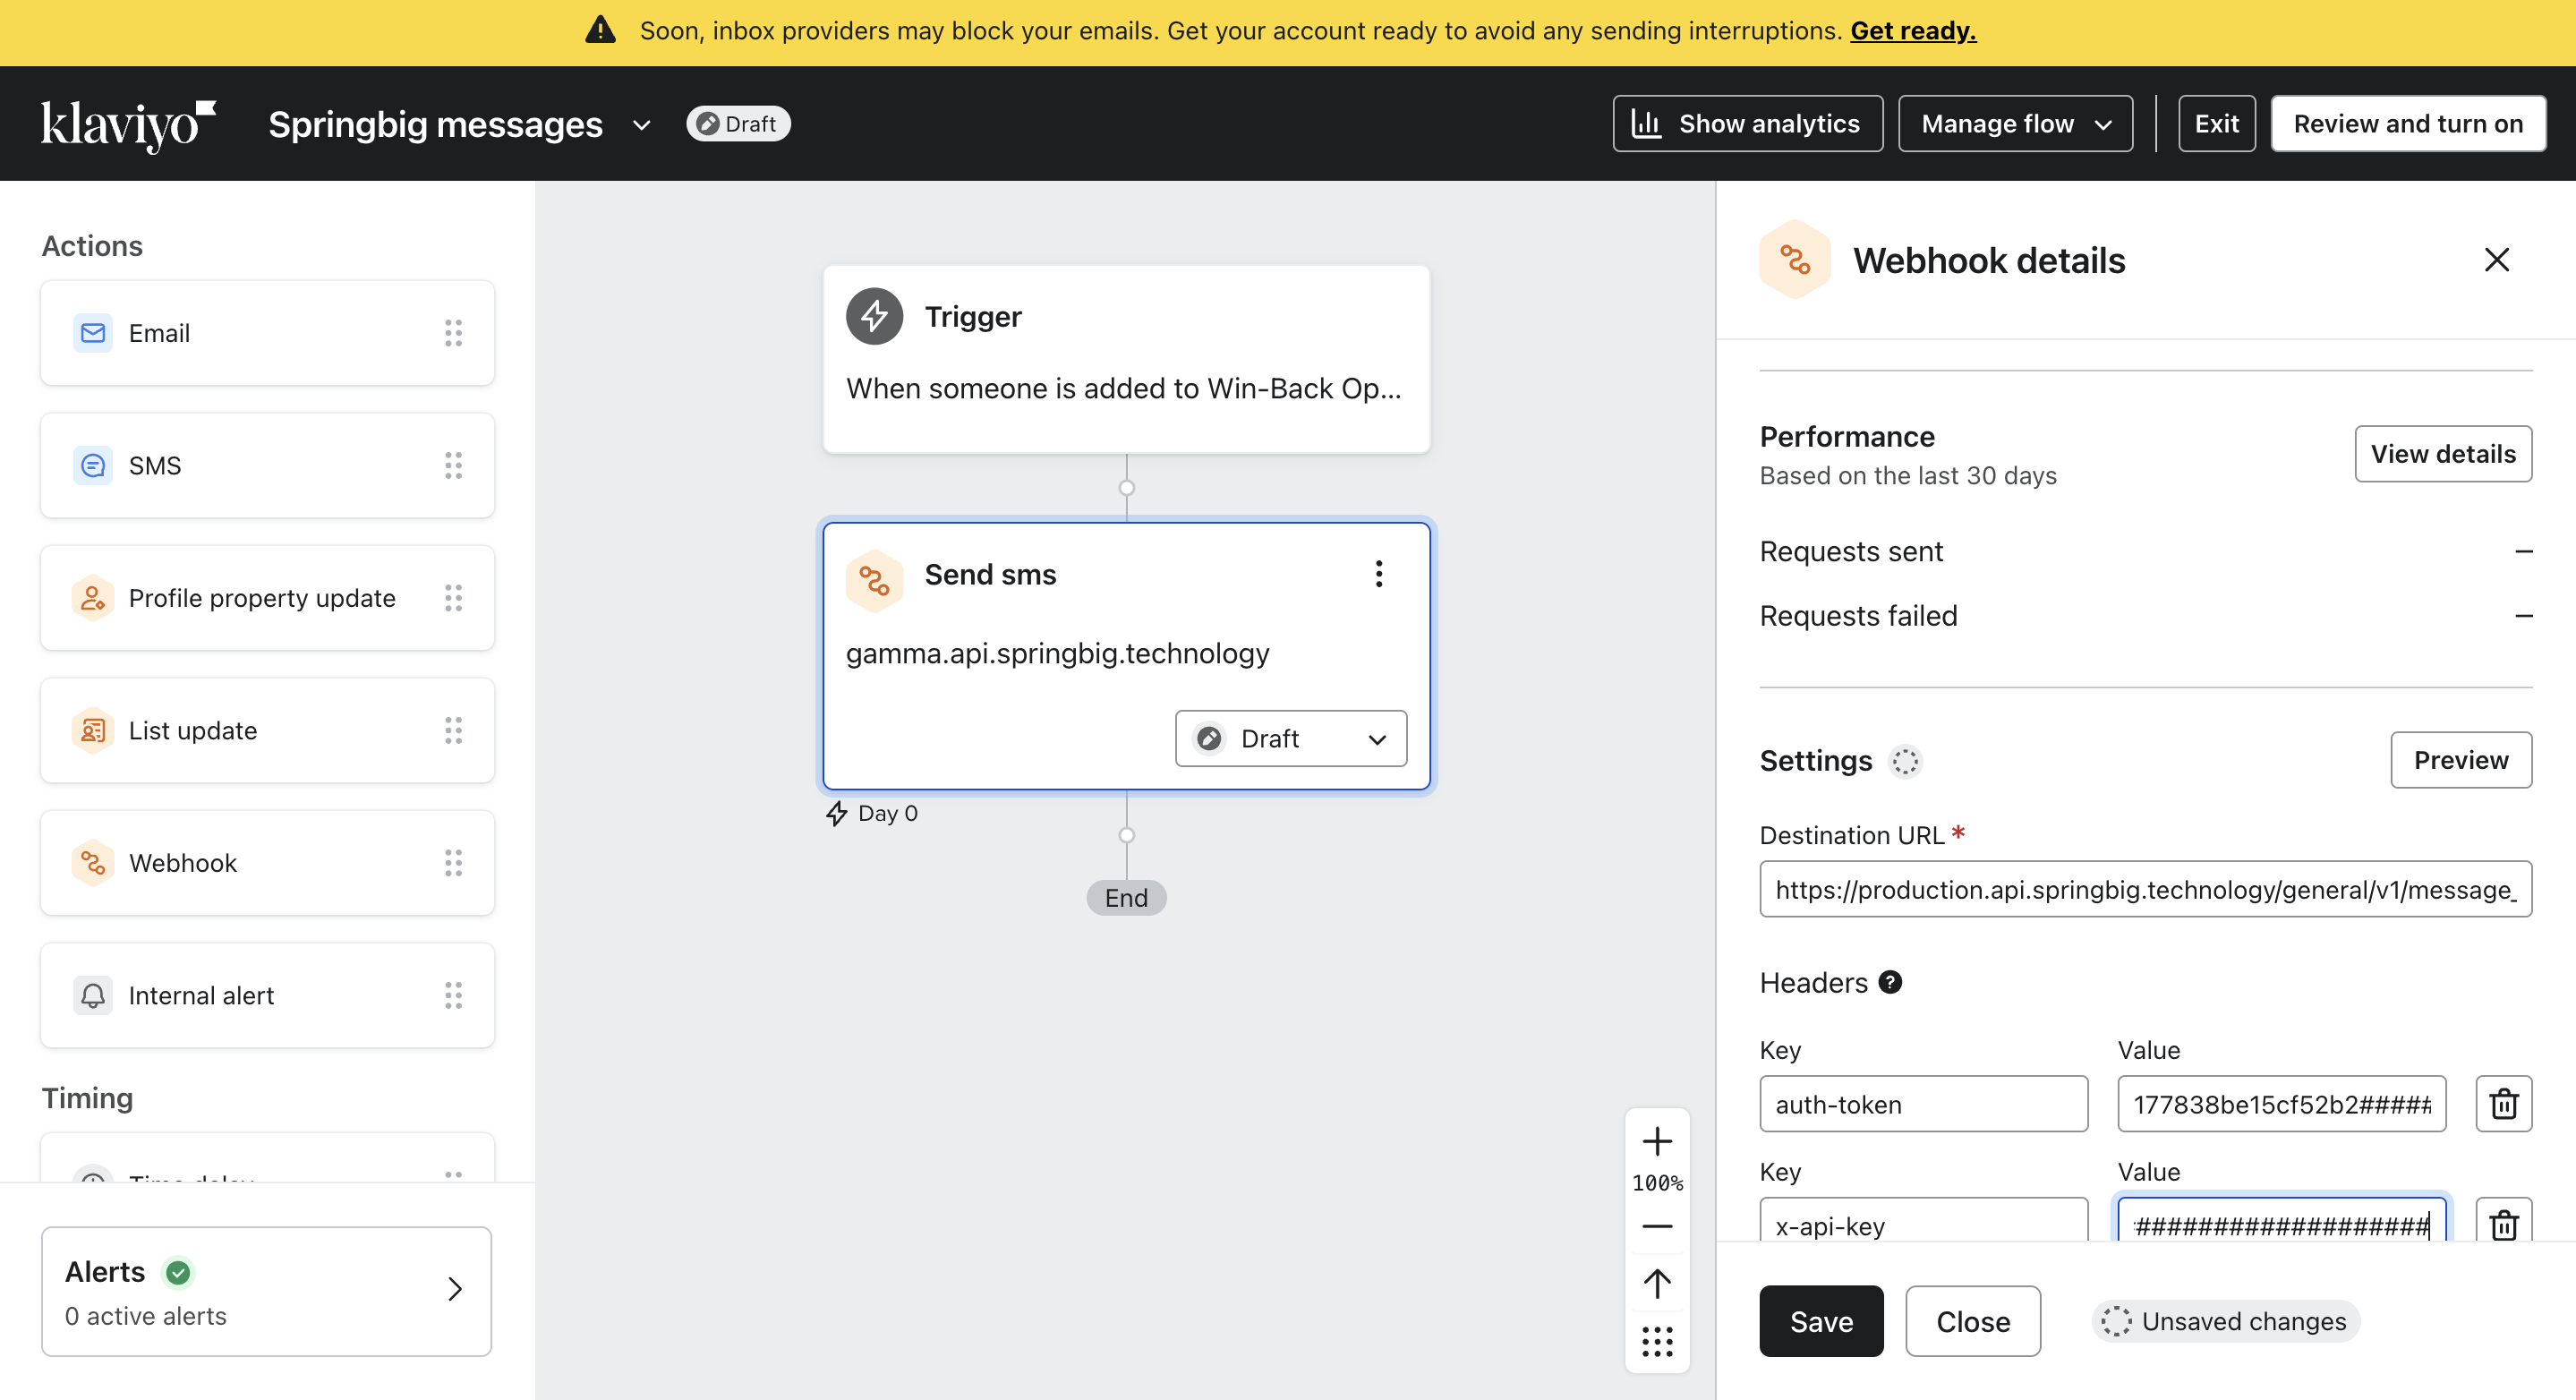
Step 3: Configure Webhook Details
Skip to the following section on retrieving the
Auto Campaign IDandAuto Campaign Scope ID
-
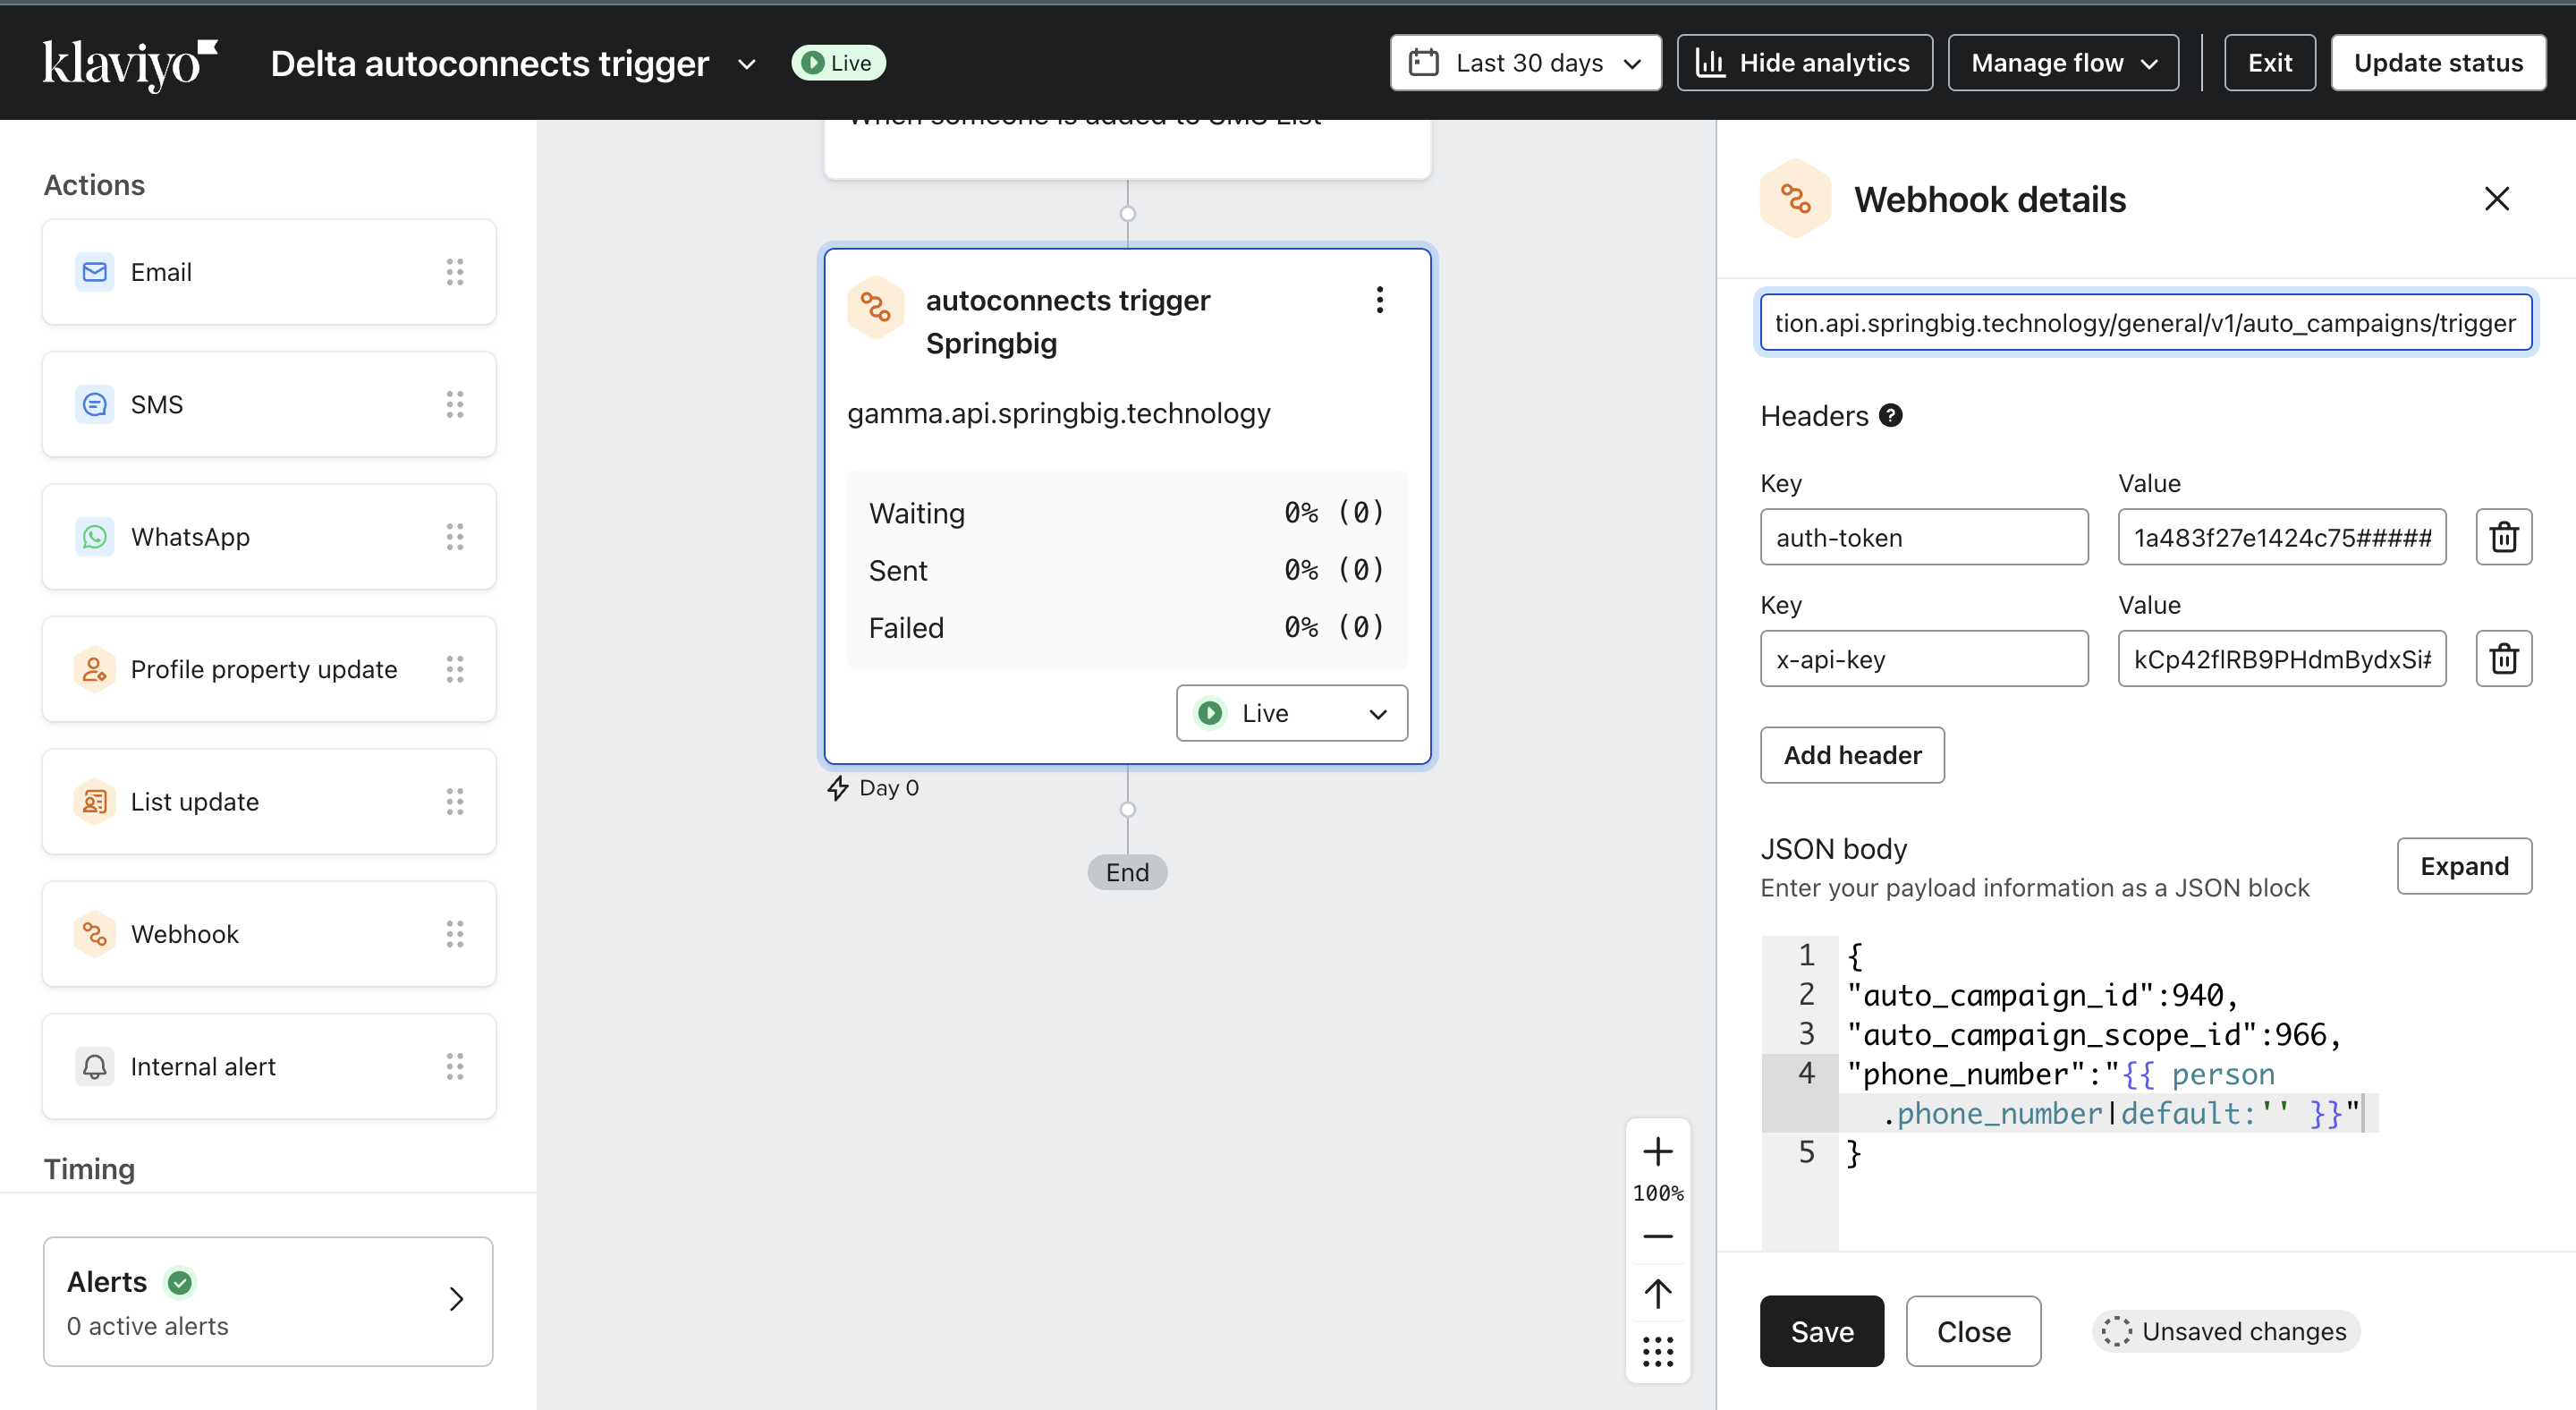
**URL Endpoint:** `https://{environment}.api.springbig.technology/general/v1/auto_campaigns/trigger` * `{environment}` accepts gamma or production **Headers:** * `AUTH-TOKEN` authenticates the merchant * `x-api-key` authenticates the client * `content-type` application/json **Body:** * required parameters * `phone_number`: integer * `auto_campaign_id`: integer * `auto_campaign_scope_id`: integer -
JSON Body: Paste the following payload and adjust values as required:
See the Section below on how to retrieve the auto_campaign_id and auto_campaign_scope_id
https://springbig.readme.io/docs/email-configuration-1#how-to-retrieve-ids-auto_campaign_id-
{
  "phone_number": "{{ person.phone_number | default:'' }}",
  "auto_campaign_id": 123,
  "auto_campaign_scope_id": 1234,
  "email": "{{ person.email | default:'' }}",
}
Step 4: Save & Activate
- Click Update Action Statuses (top-right).
- Set Action Status to Live.
- Click Save (bottom-left).
Your SMS Flow is now live! When a customer enters this Klaviyo Flow, a personalized SMS will be triggered via Springbig.
📘 Parameters Reference
| Field | Type | Required | Description |
|---|---|---|---|
auto_campaign_id | integer | ✅ Yes | ID of the autoconnect |
auto_campaign_scope_id | string | ✅ Yes | ID of the autoconnect audience of the campaign |
phone_number | integer | Recommended | Customer’s phone number from Klaviyo ( Required if sending a Text Campaign |
email | string | optional | Required if sending an Email Campaign |
Updated 11 months ago