

Zapier
This guide walks you through how to install and configure the Springbig Zapier app, create or update members, and send messages
Step 1: Install the Springbig App in Zapier
- Log in to your Zapier account.
- Navigate to the Zapier App Marketplace.
- Search for Springbig and install the app.
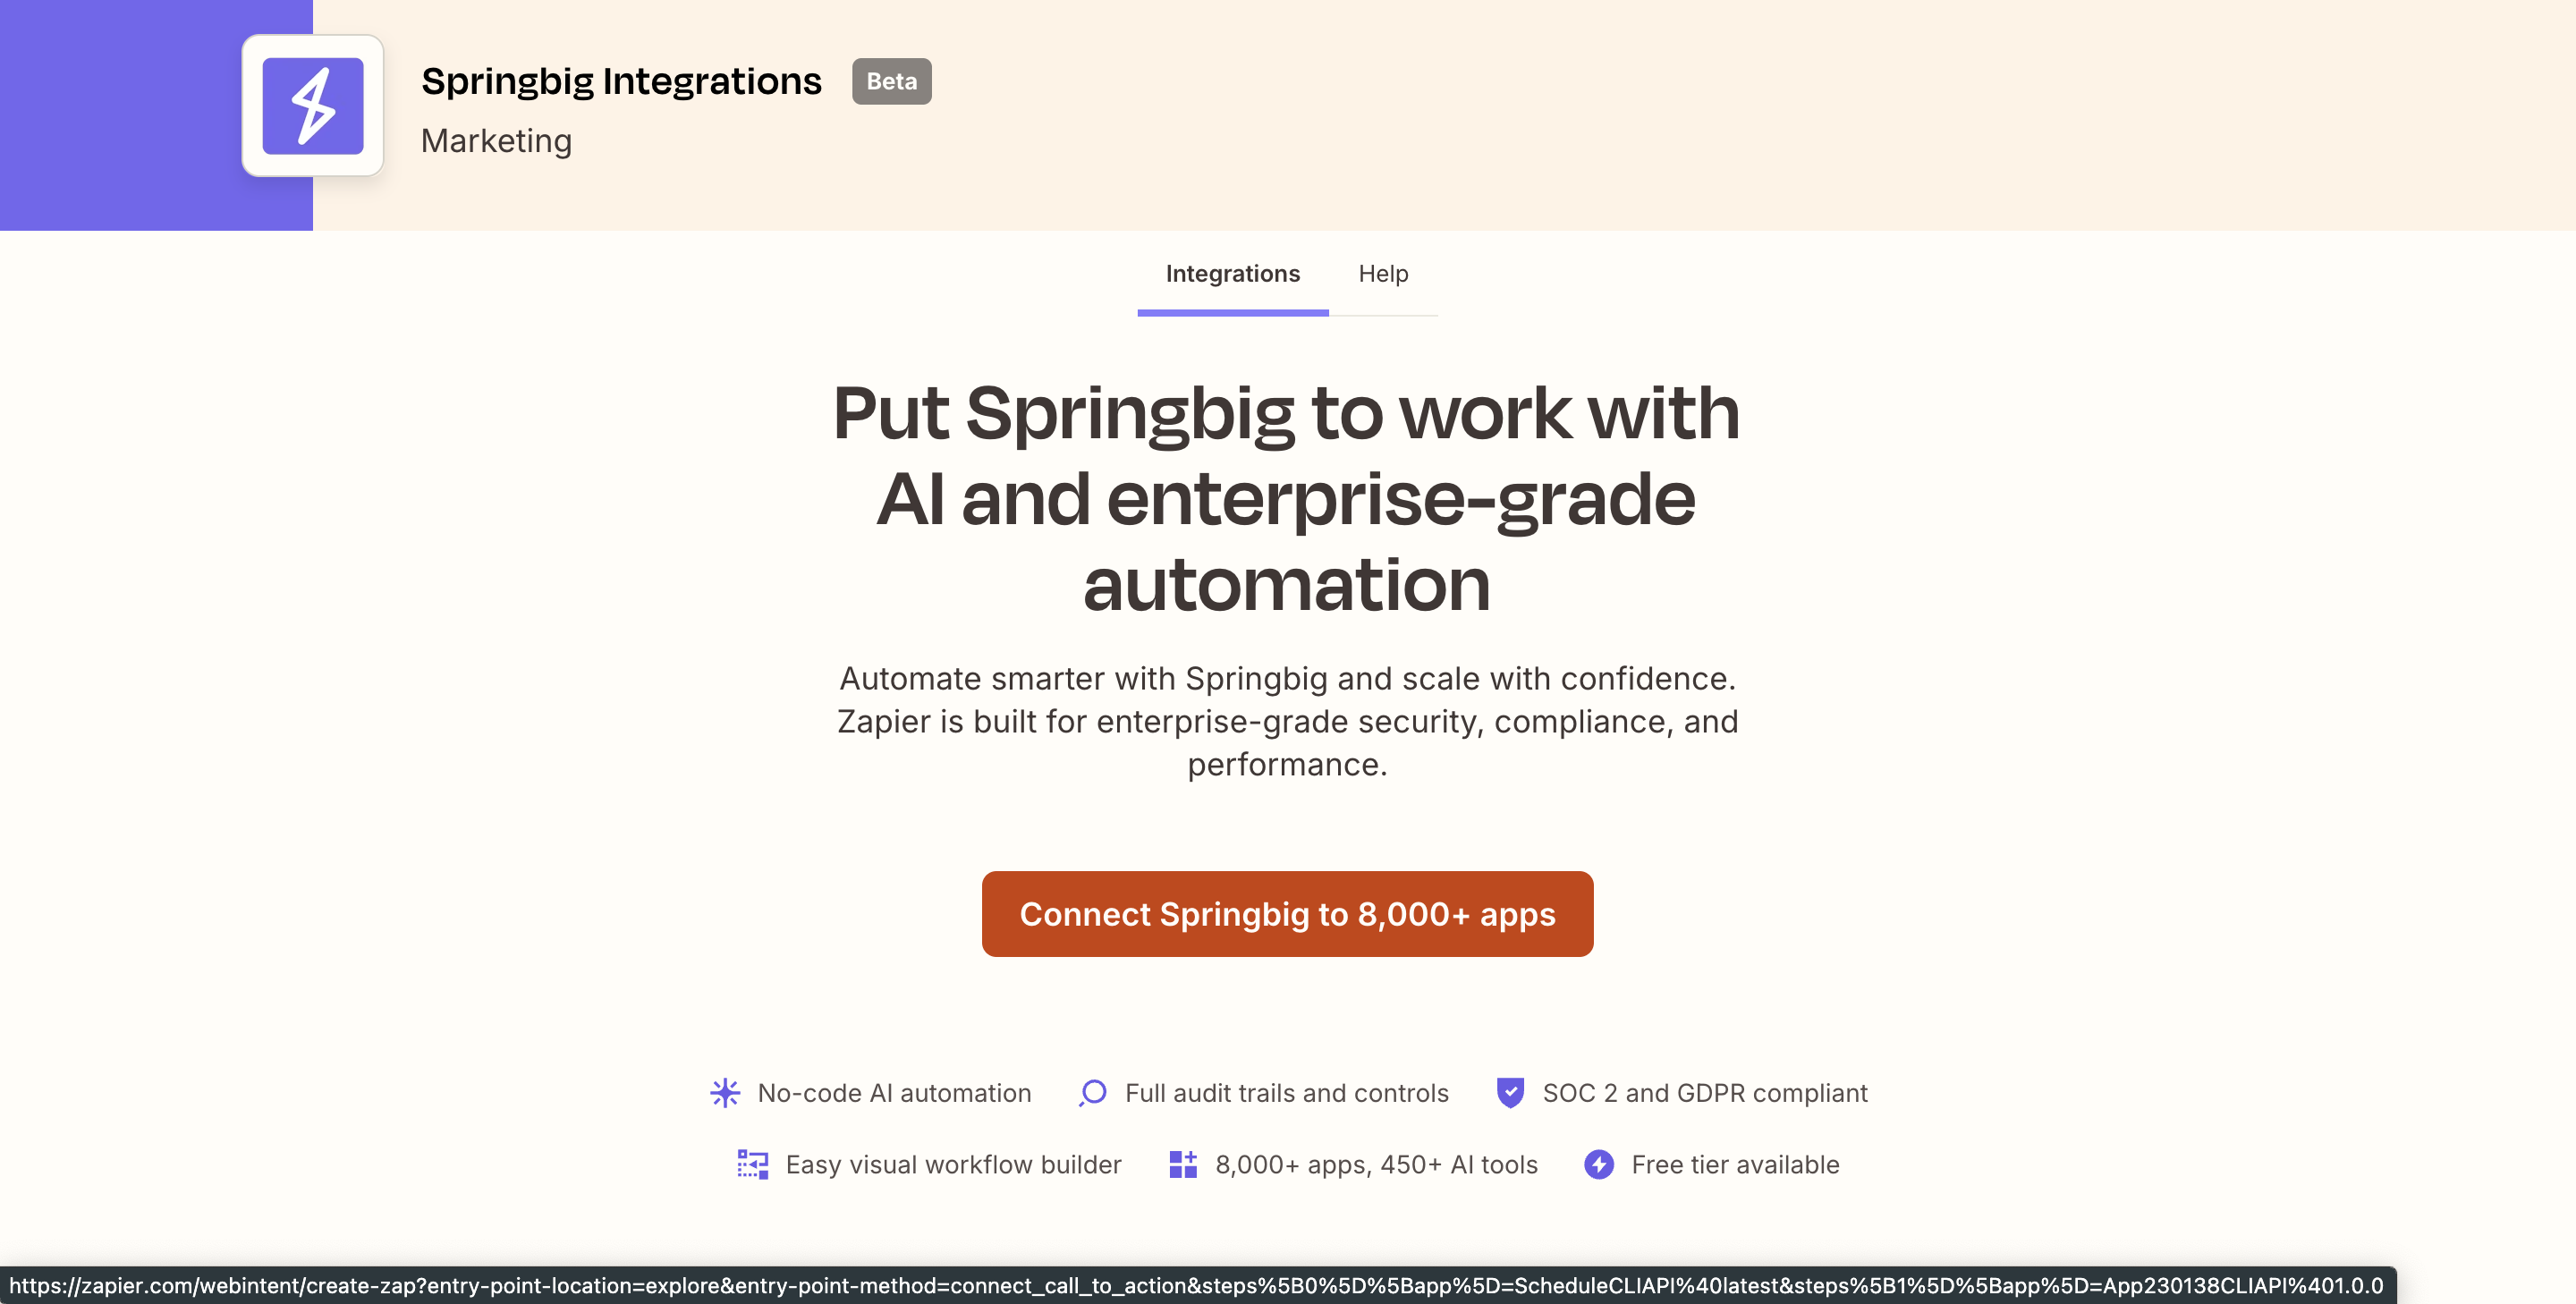
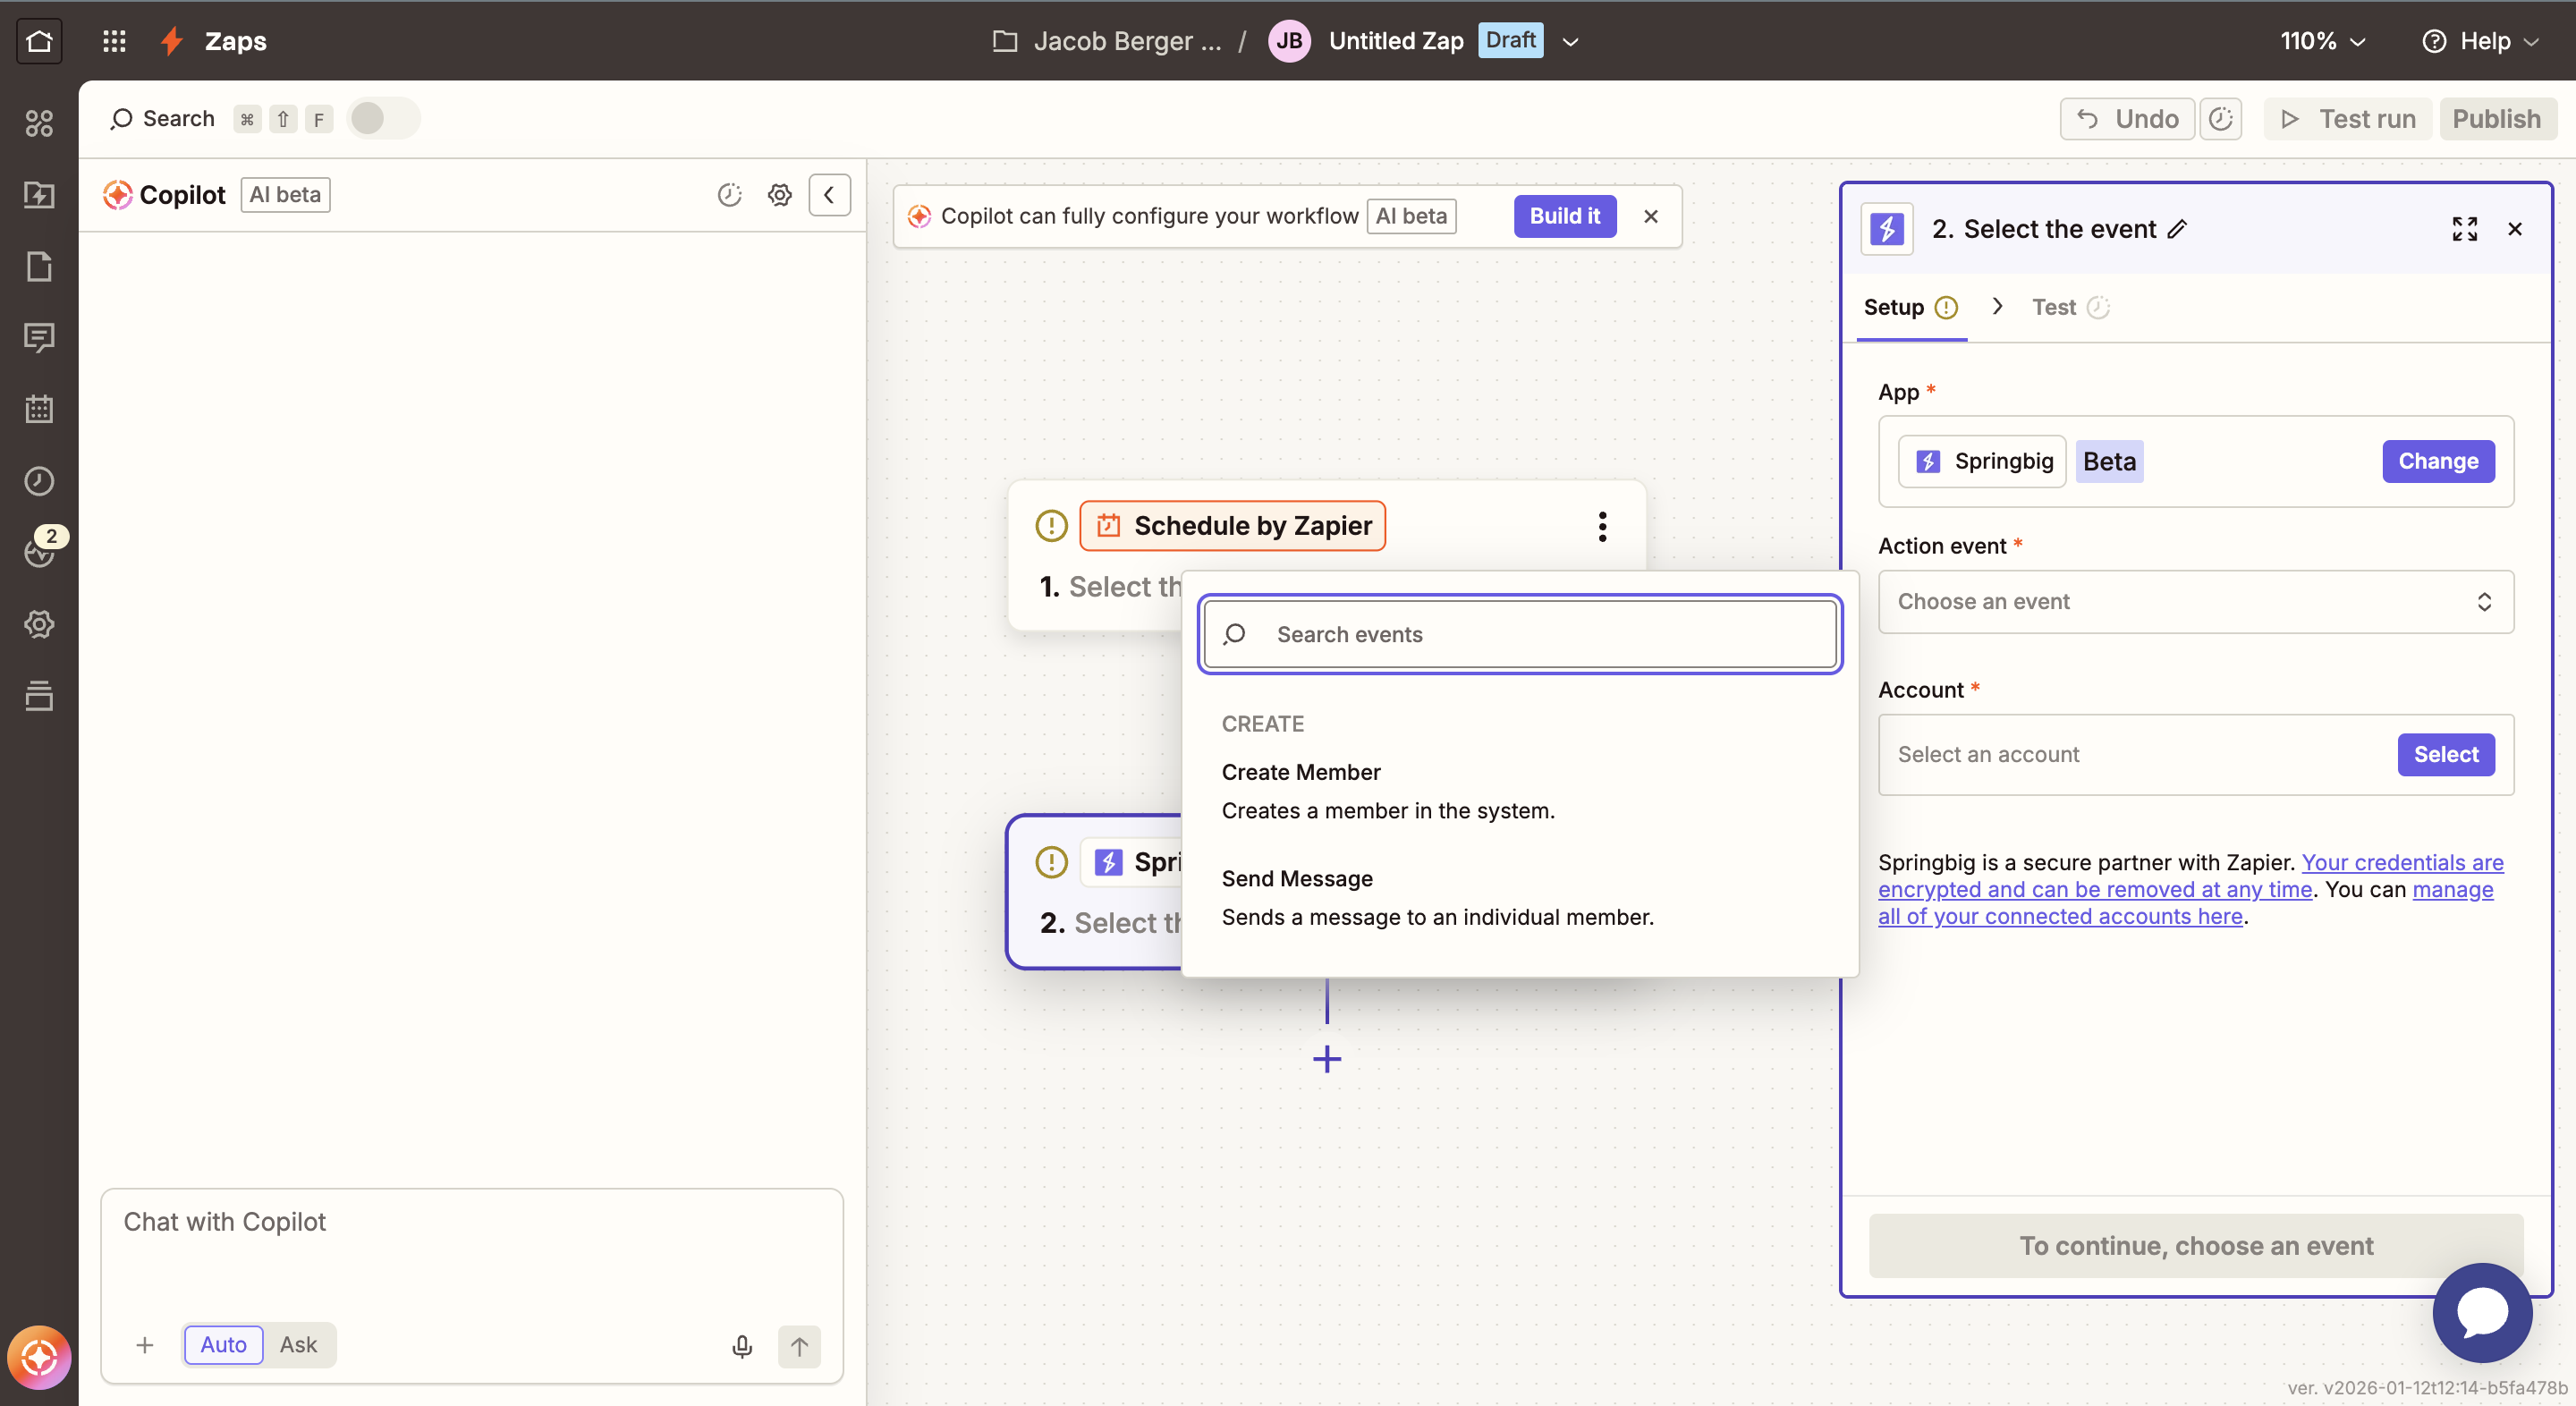
Step 2: Choose a Springbig Action
After installing the app, select the Springbig action you want to use.
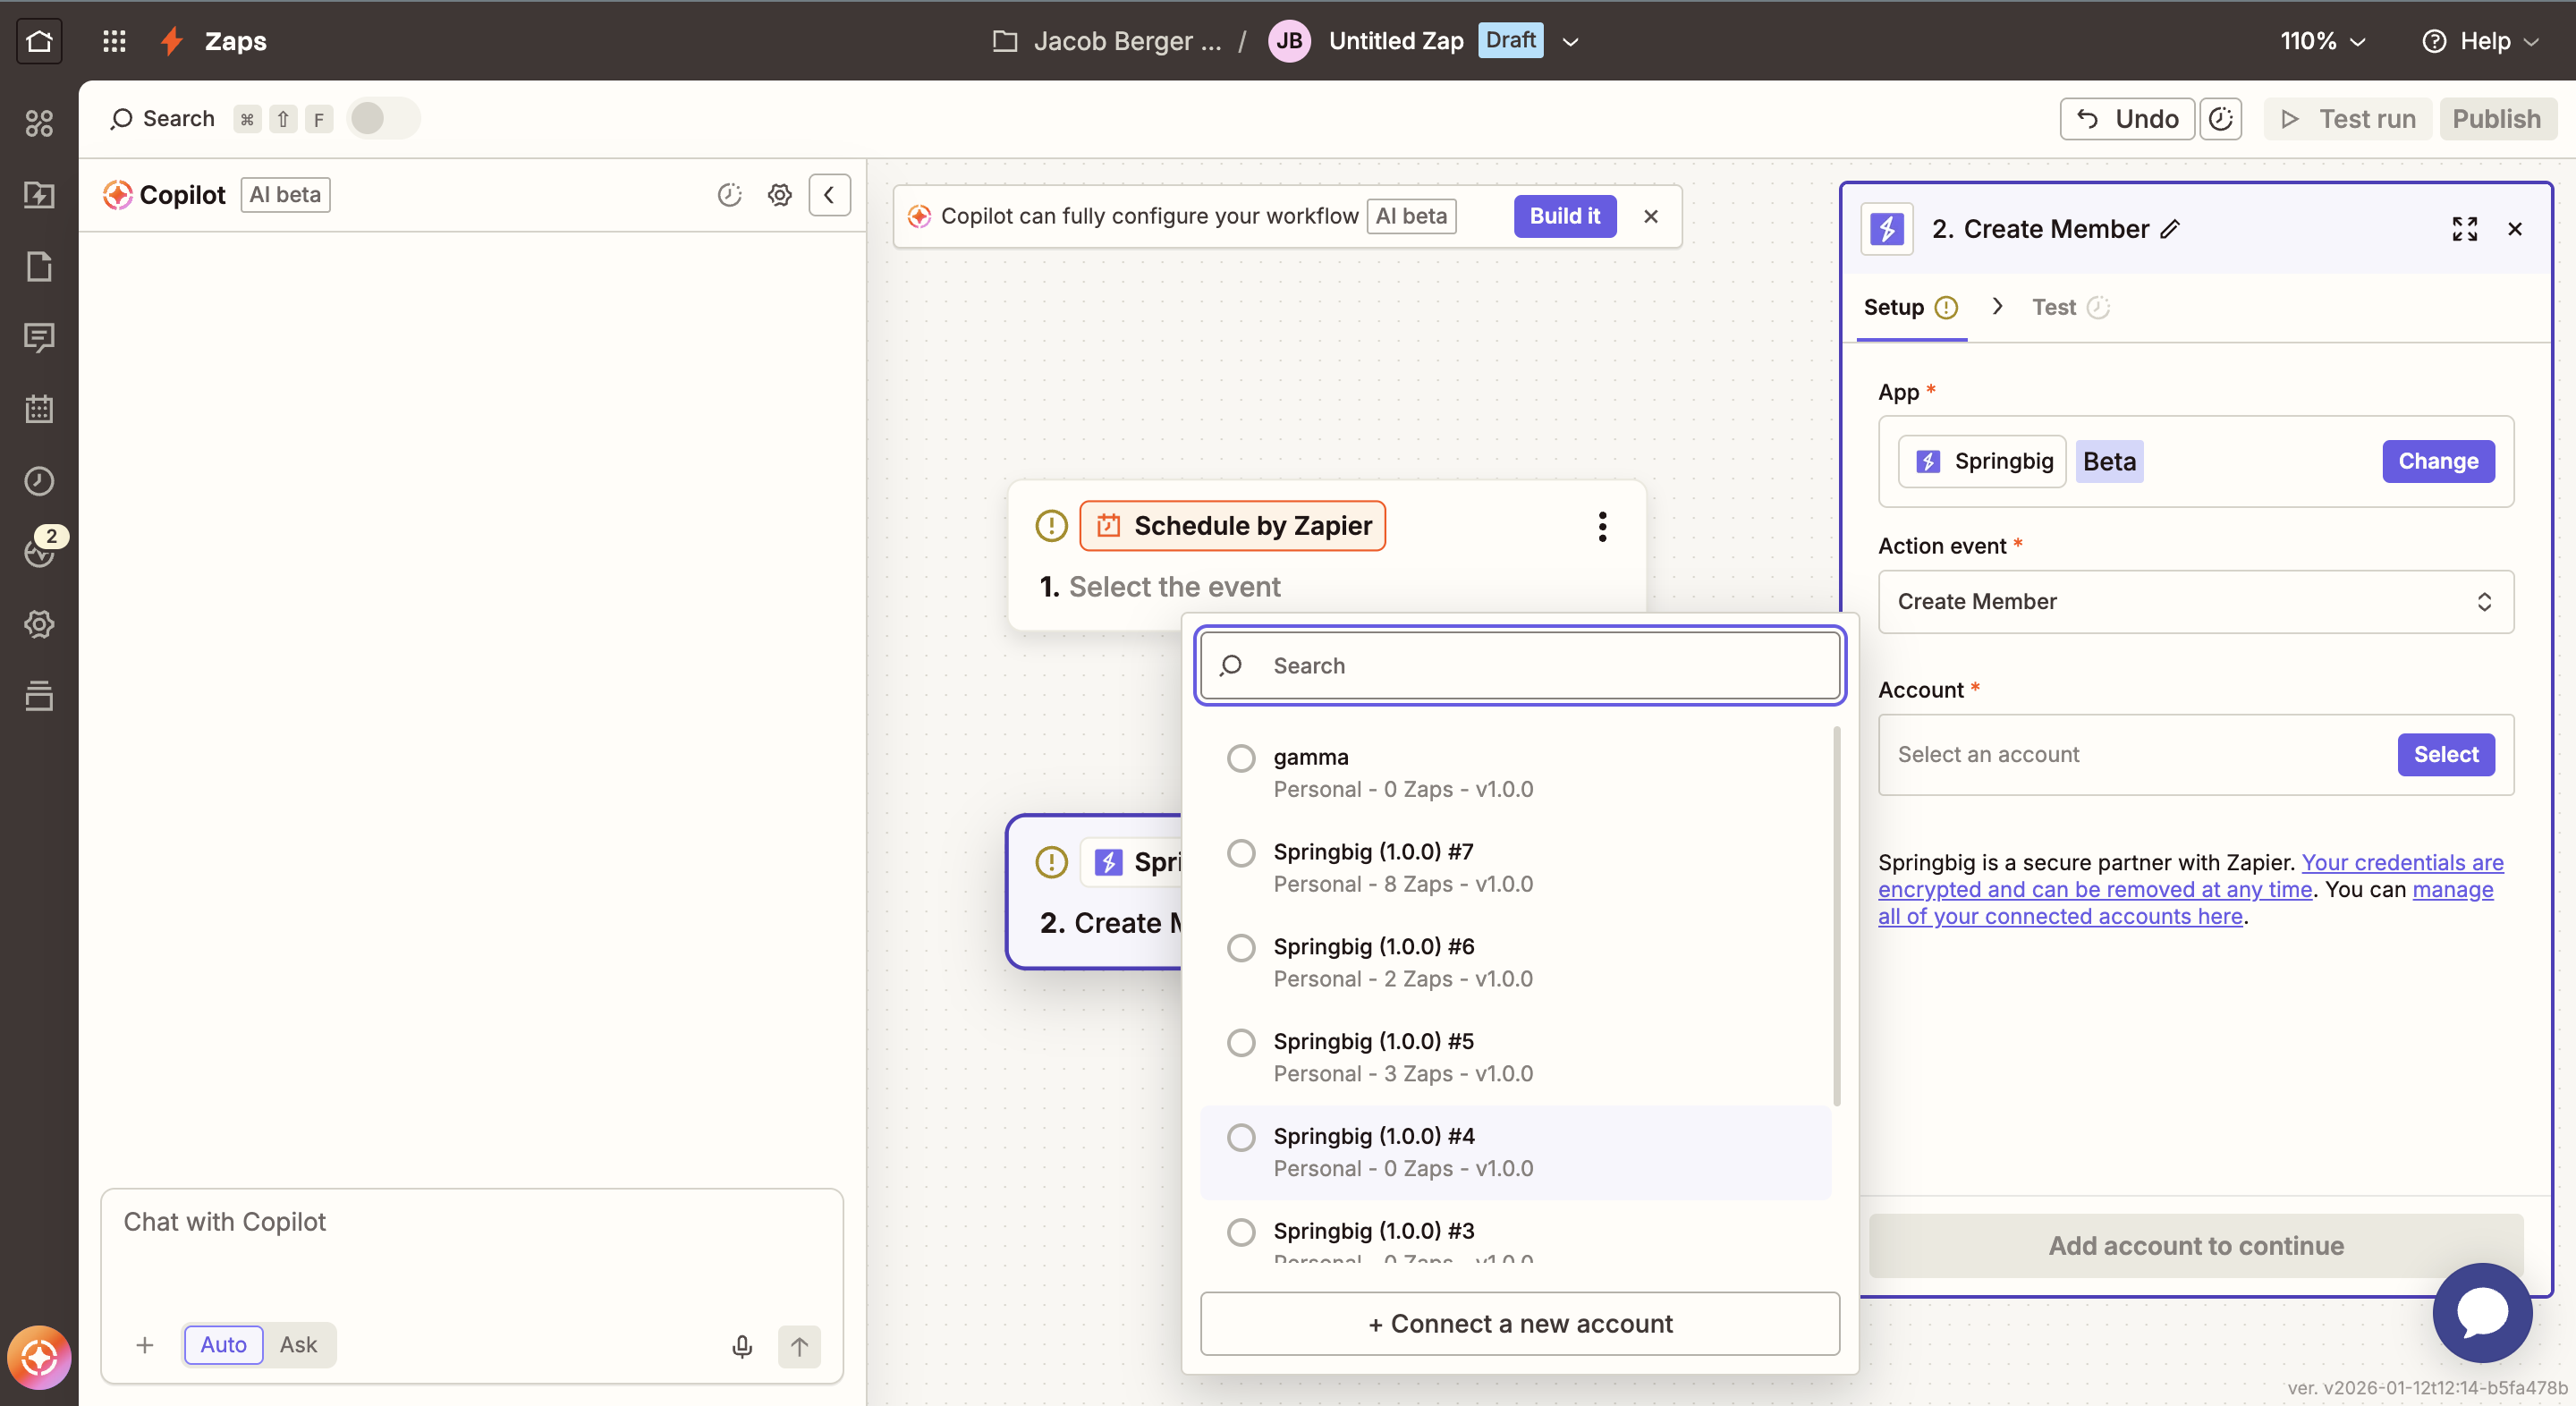
Step 3: Connect Your Springbig Account
- Select an existing Springbig account, or
- Click Connect a new account and authenticate with Springbig.
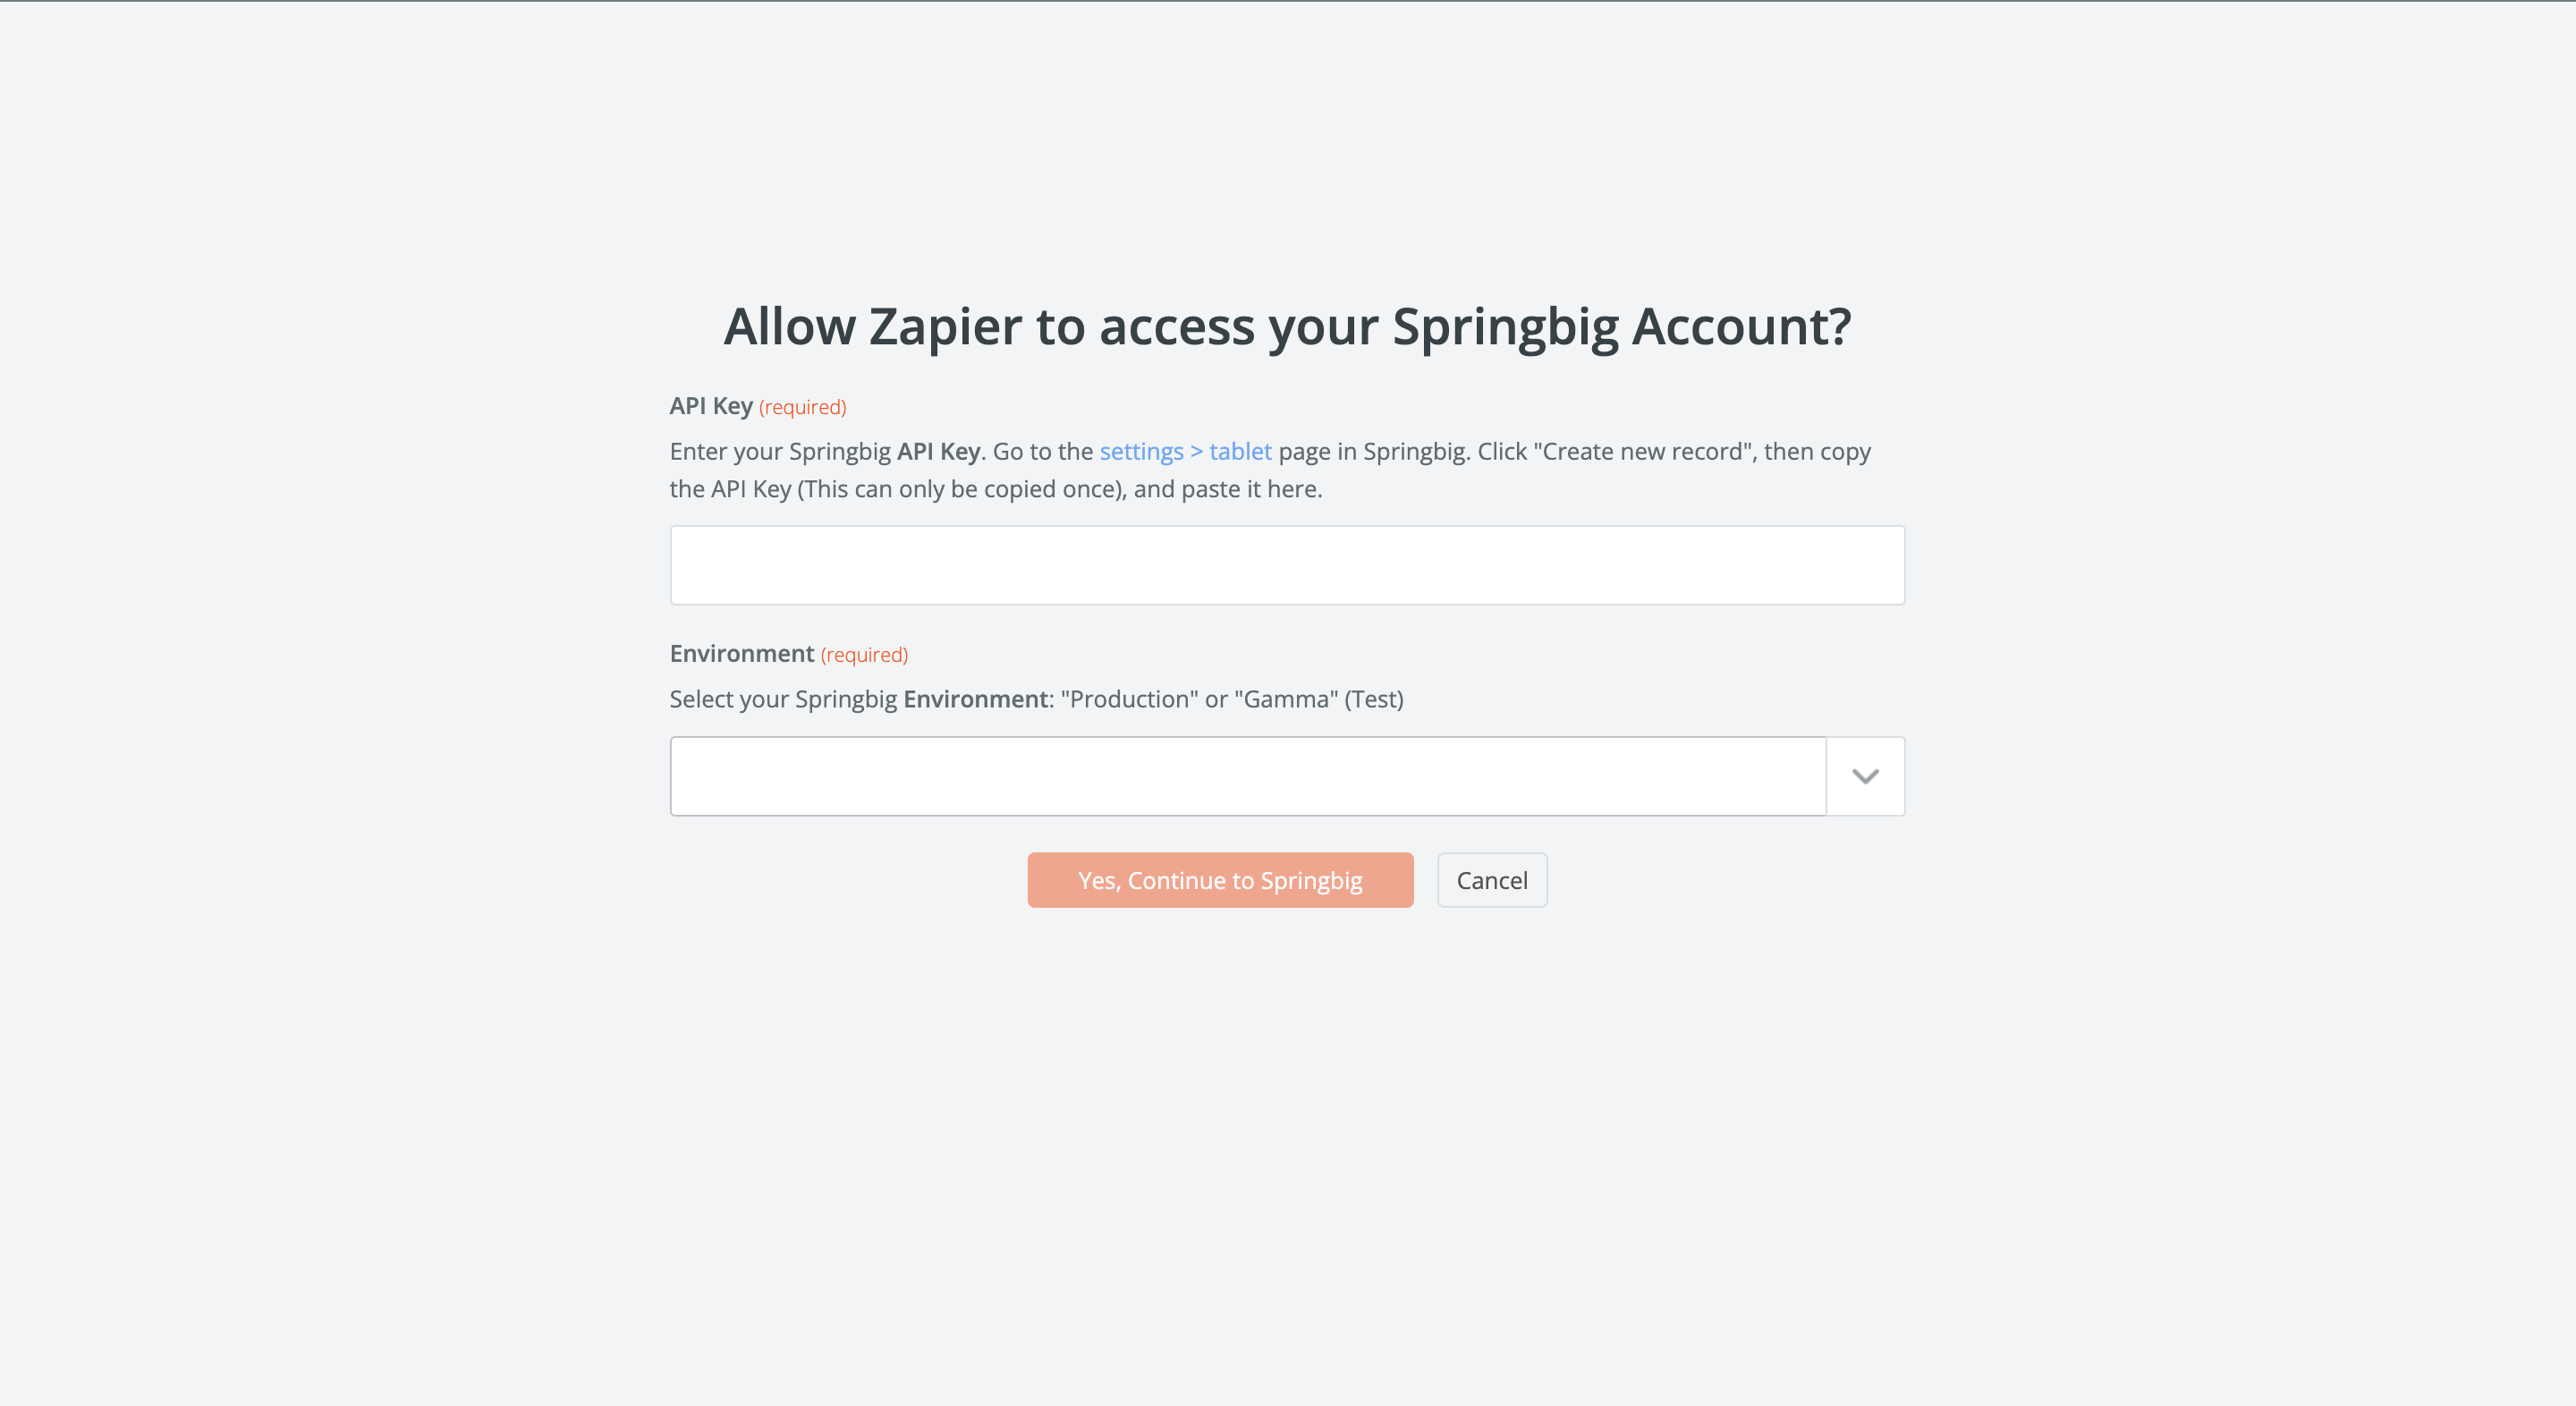
Step 4: Enter Your API Credentials
When prompted, provide the following:
API Key
- Retrieve your API key from the Springbig platform (as described in the Springbig dashboard documentation).
Environment
Choose one of the following:
- Production (Live) – for real member data and messaging
- Gamma (Testing) – for testing and validation
Step 5: Map Member Fields
Map the fields from your source application (e.g., form, POS, CRM) to the Springbig member fields.
⚠️ Required Fields
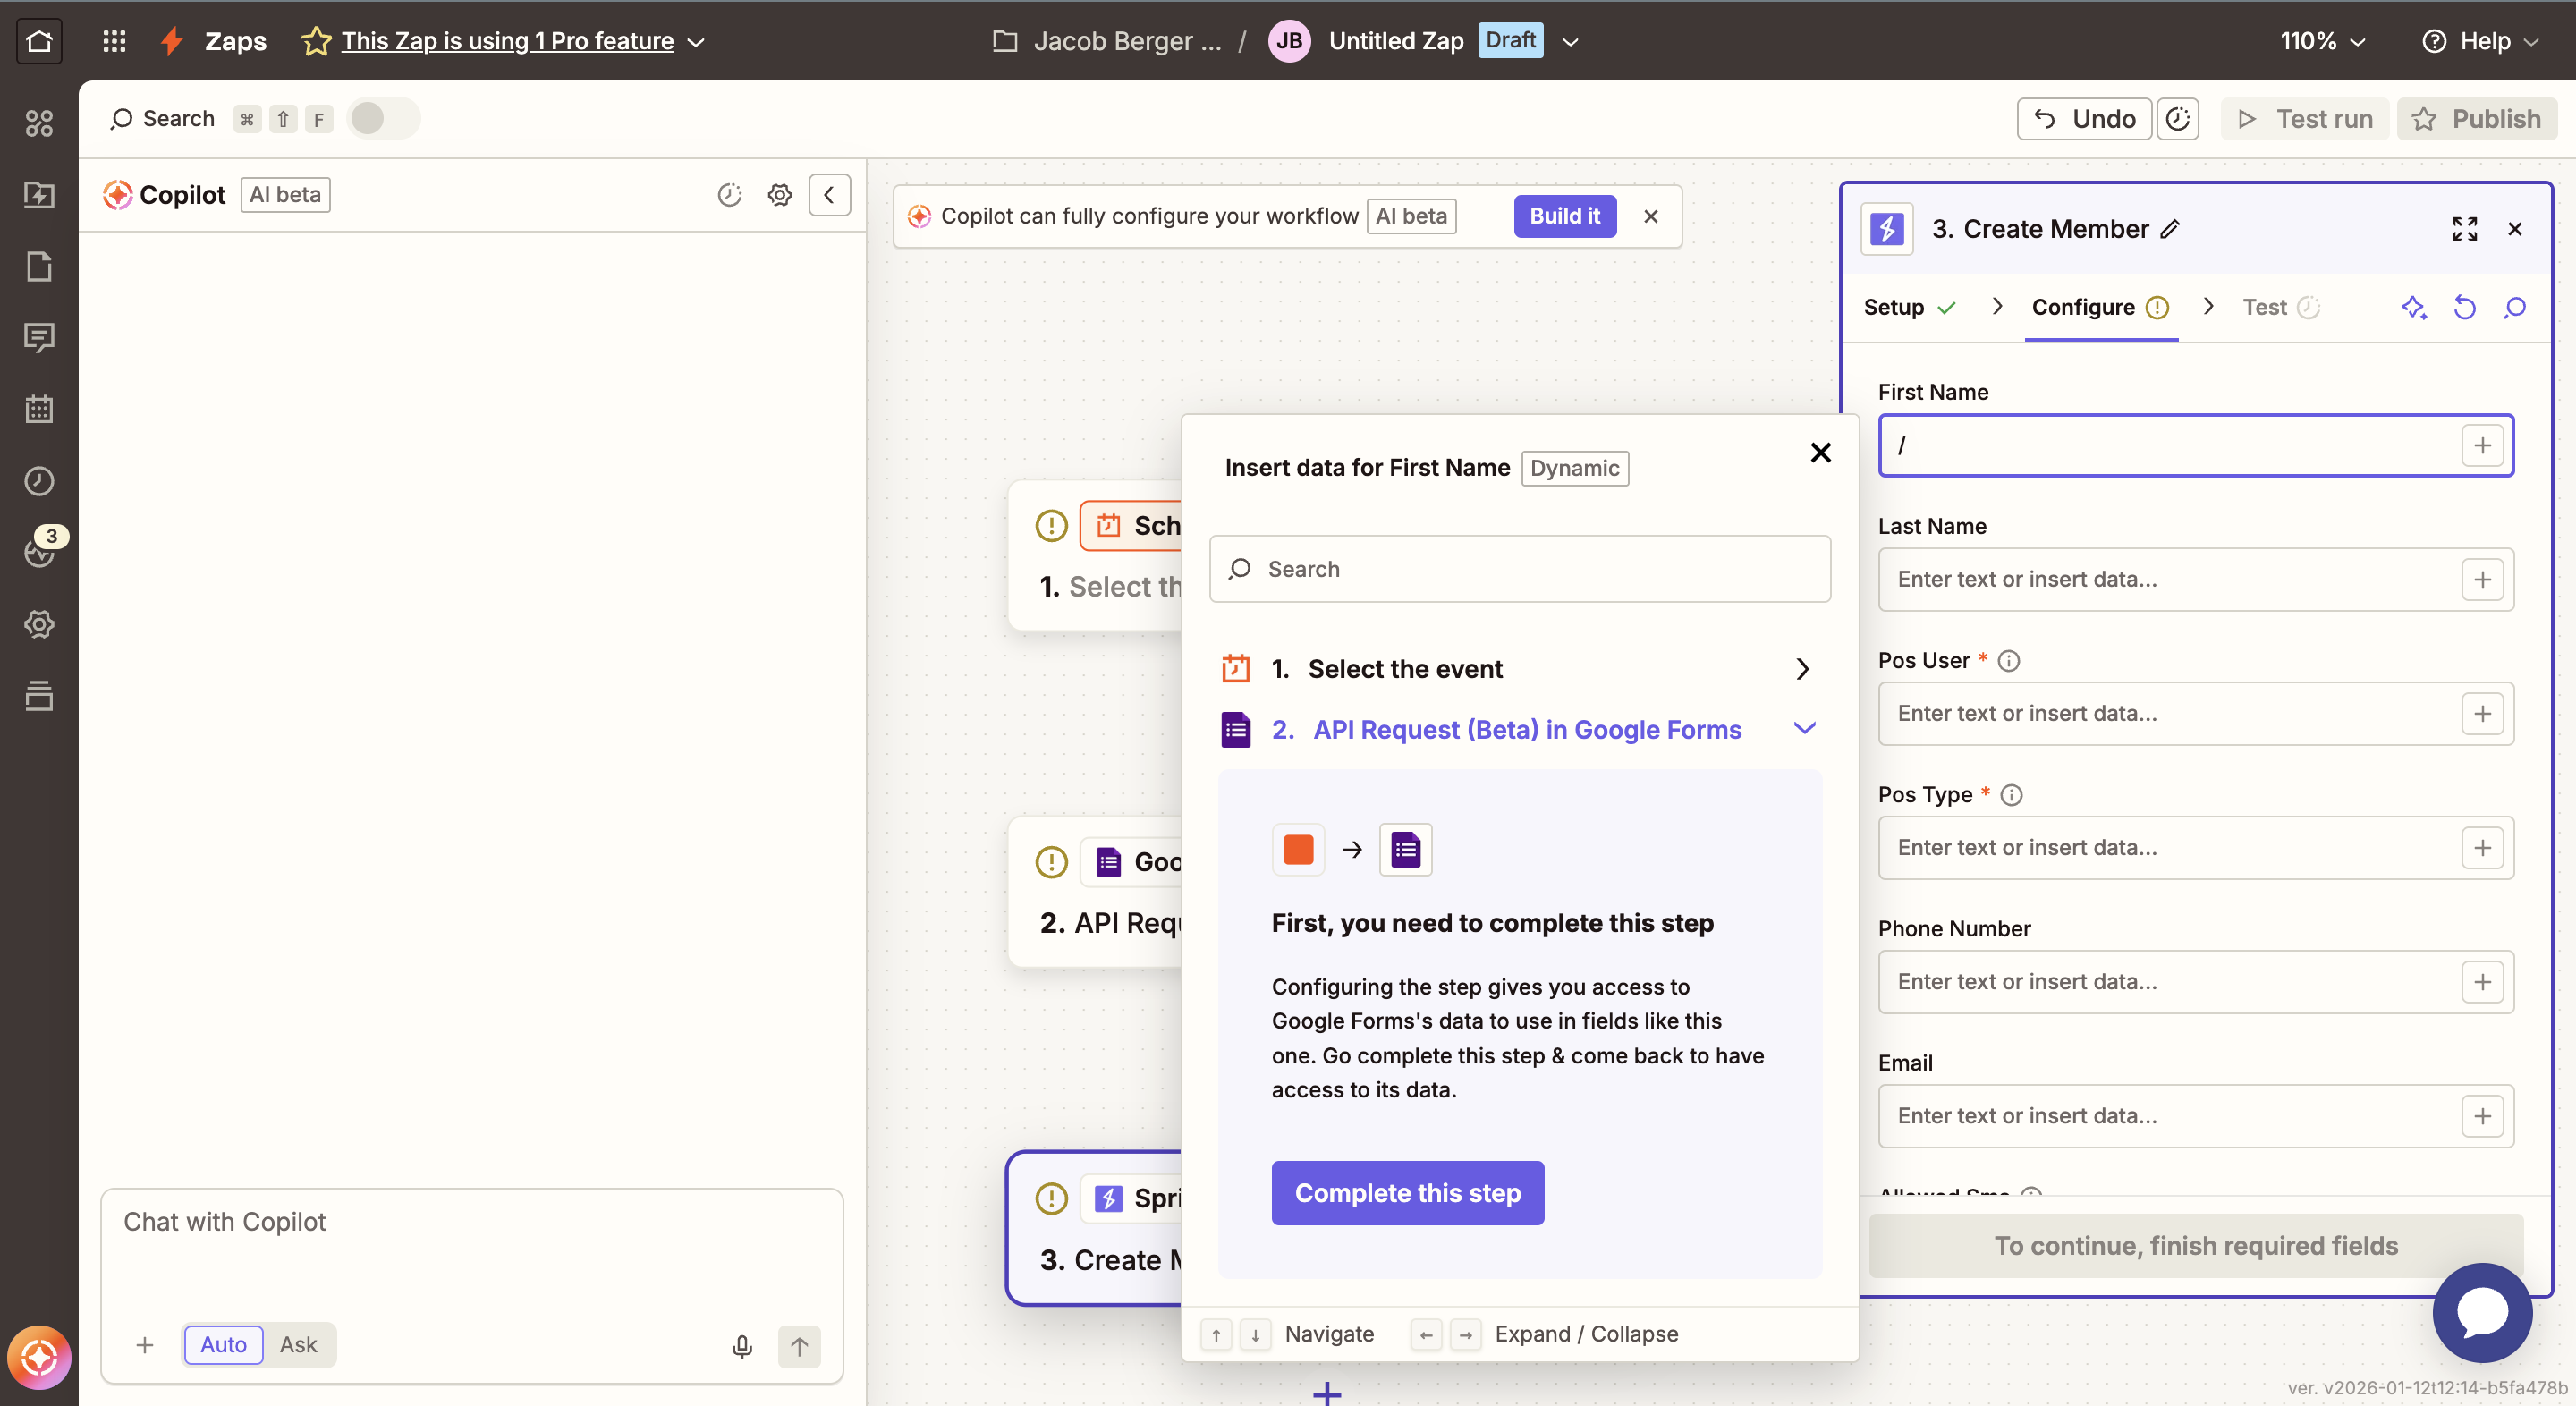
The following fields are mandatory for creating or updating a member:
- pos_user – Your unique identifier for the member
- pos_type – The platform or source creating the member (e.g., POS name, website, app)
Note
Field mappings may vary depending on the application you are syncing members from.
Step 6: Test and Publish the Zap
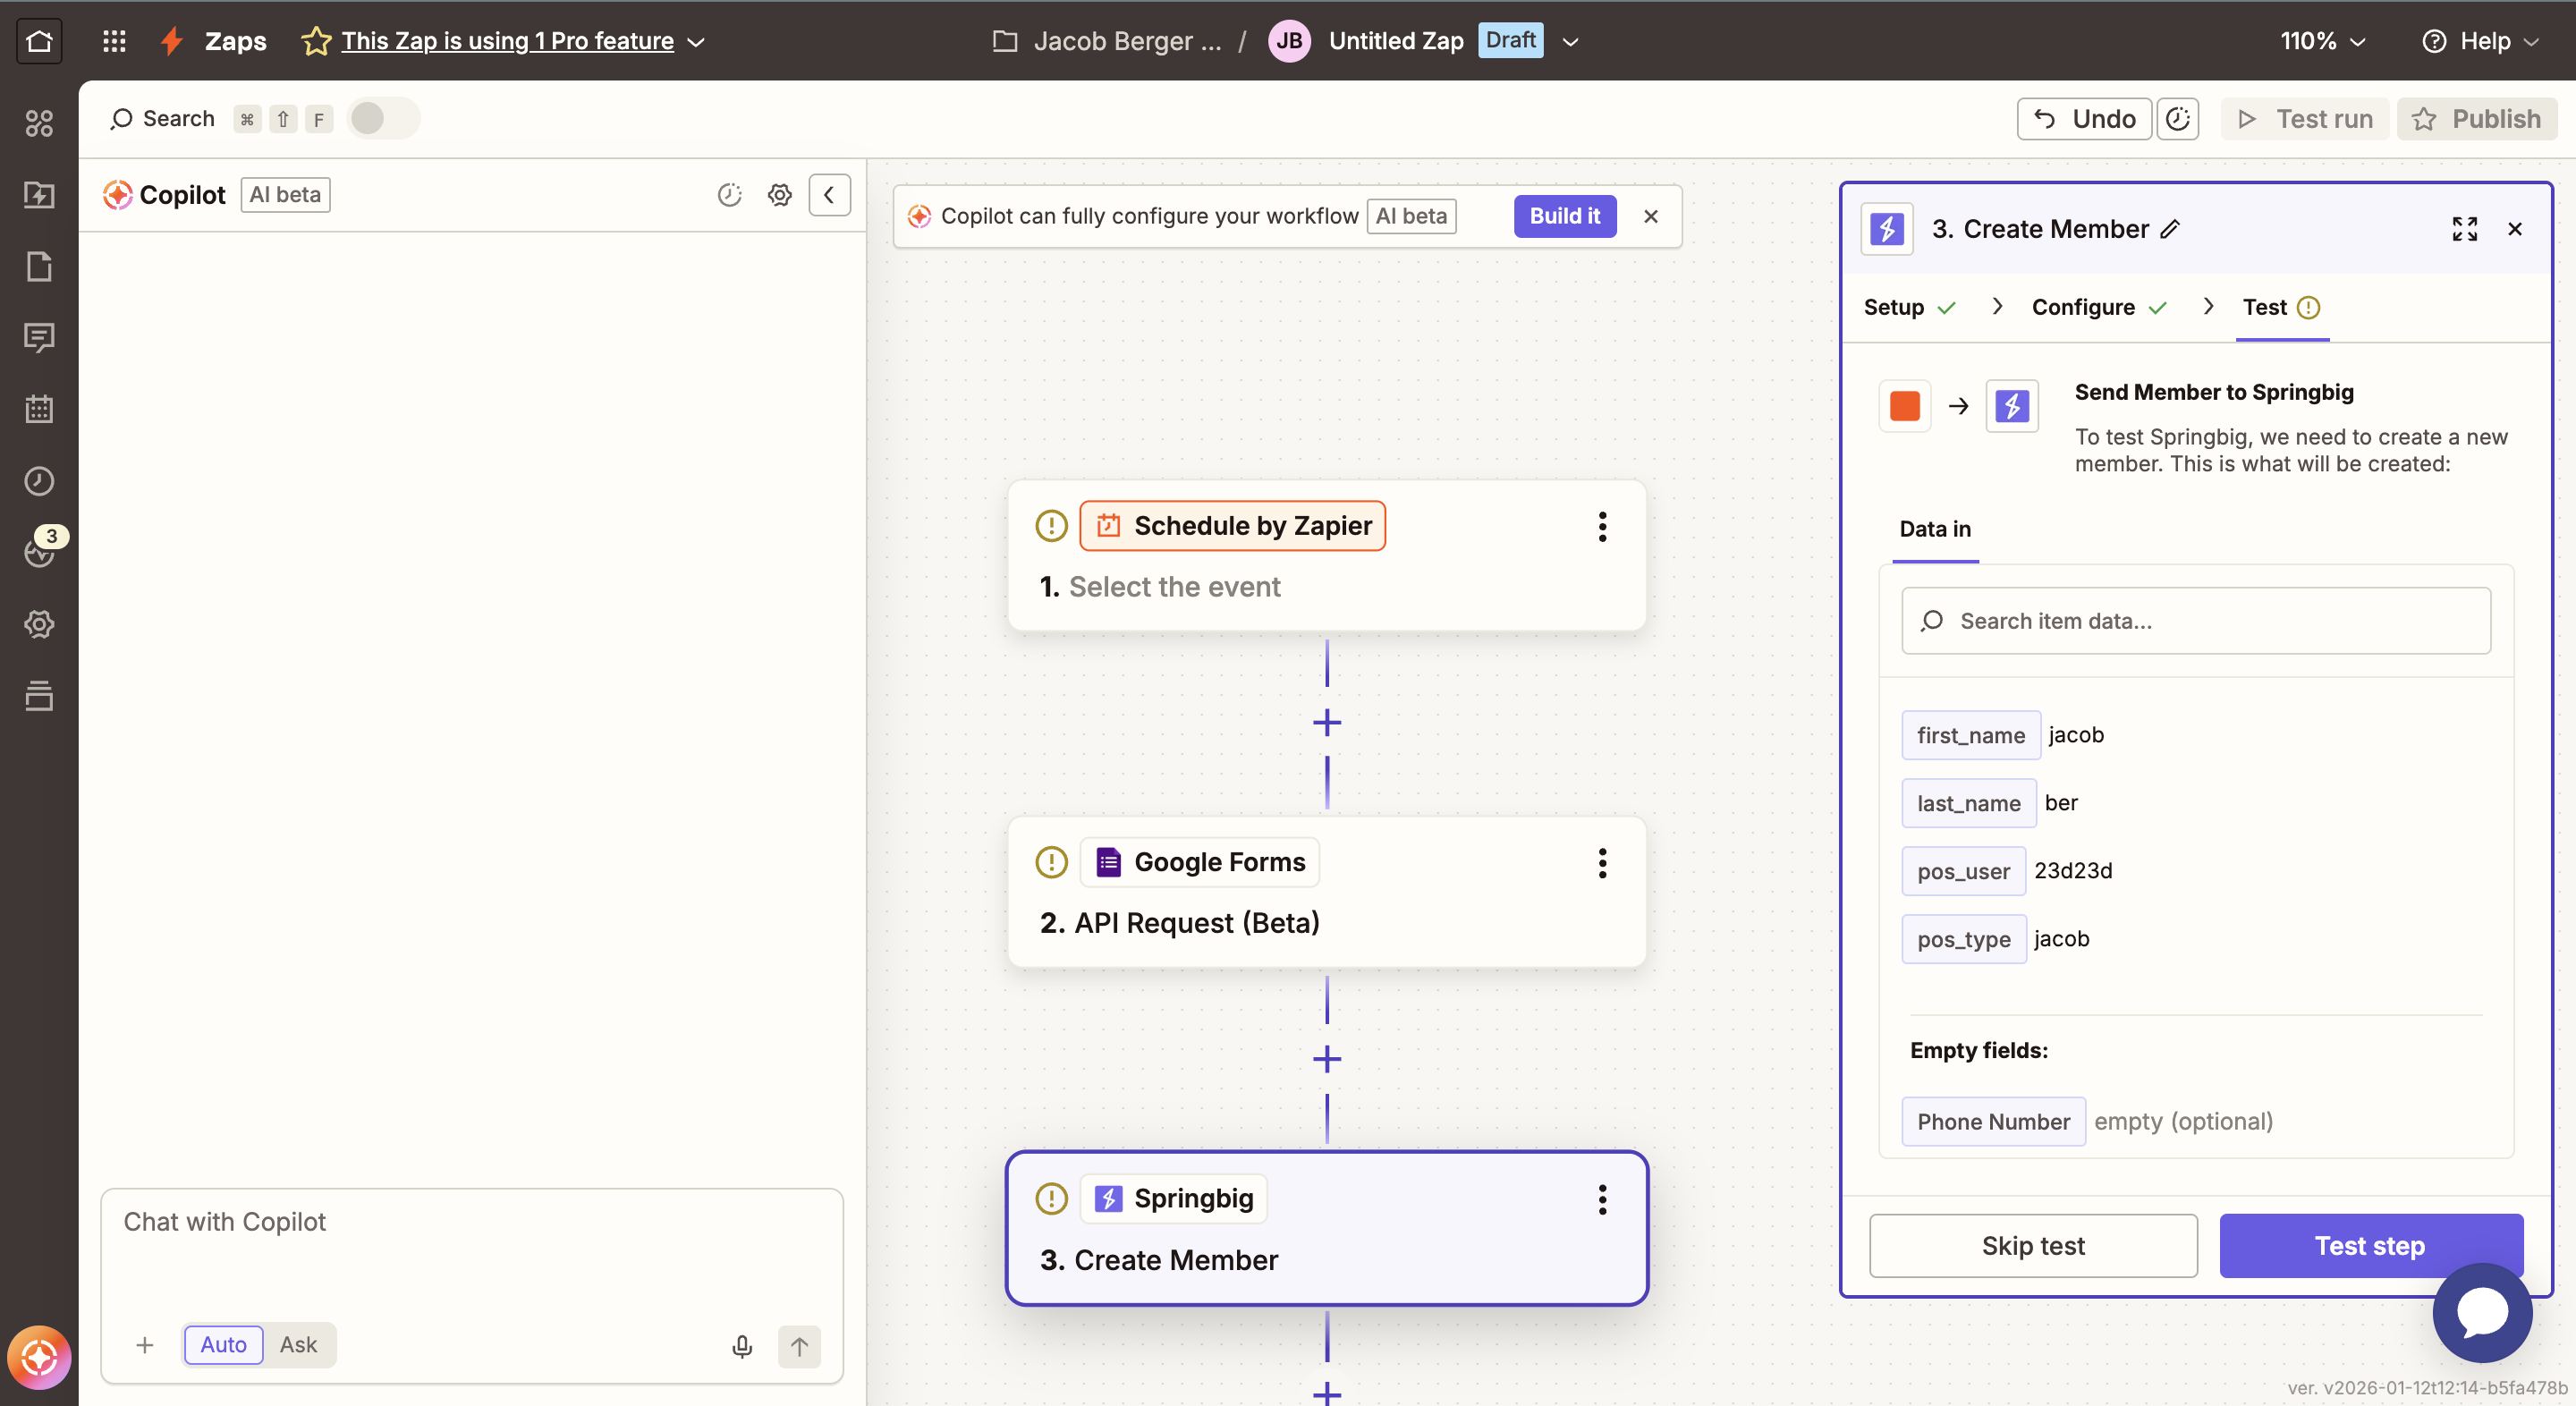
- Use Zapier’s Test feature to verify the connection.
- A successful test will create or update the member in your Springbig account.
- Once validated, publish the Zap to activate it.
Step 7: Send a Message Configuration
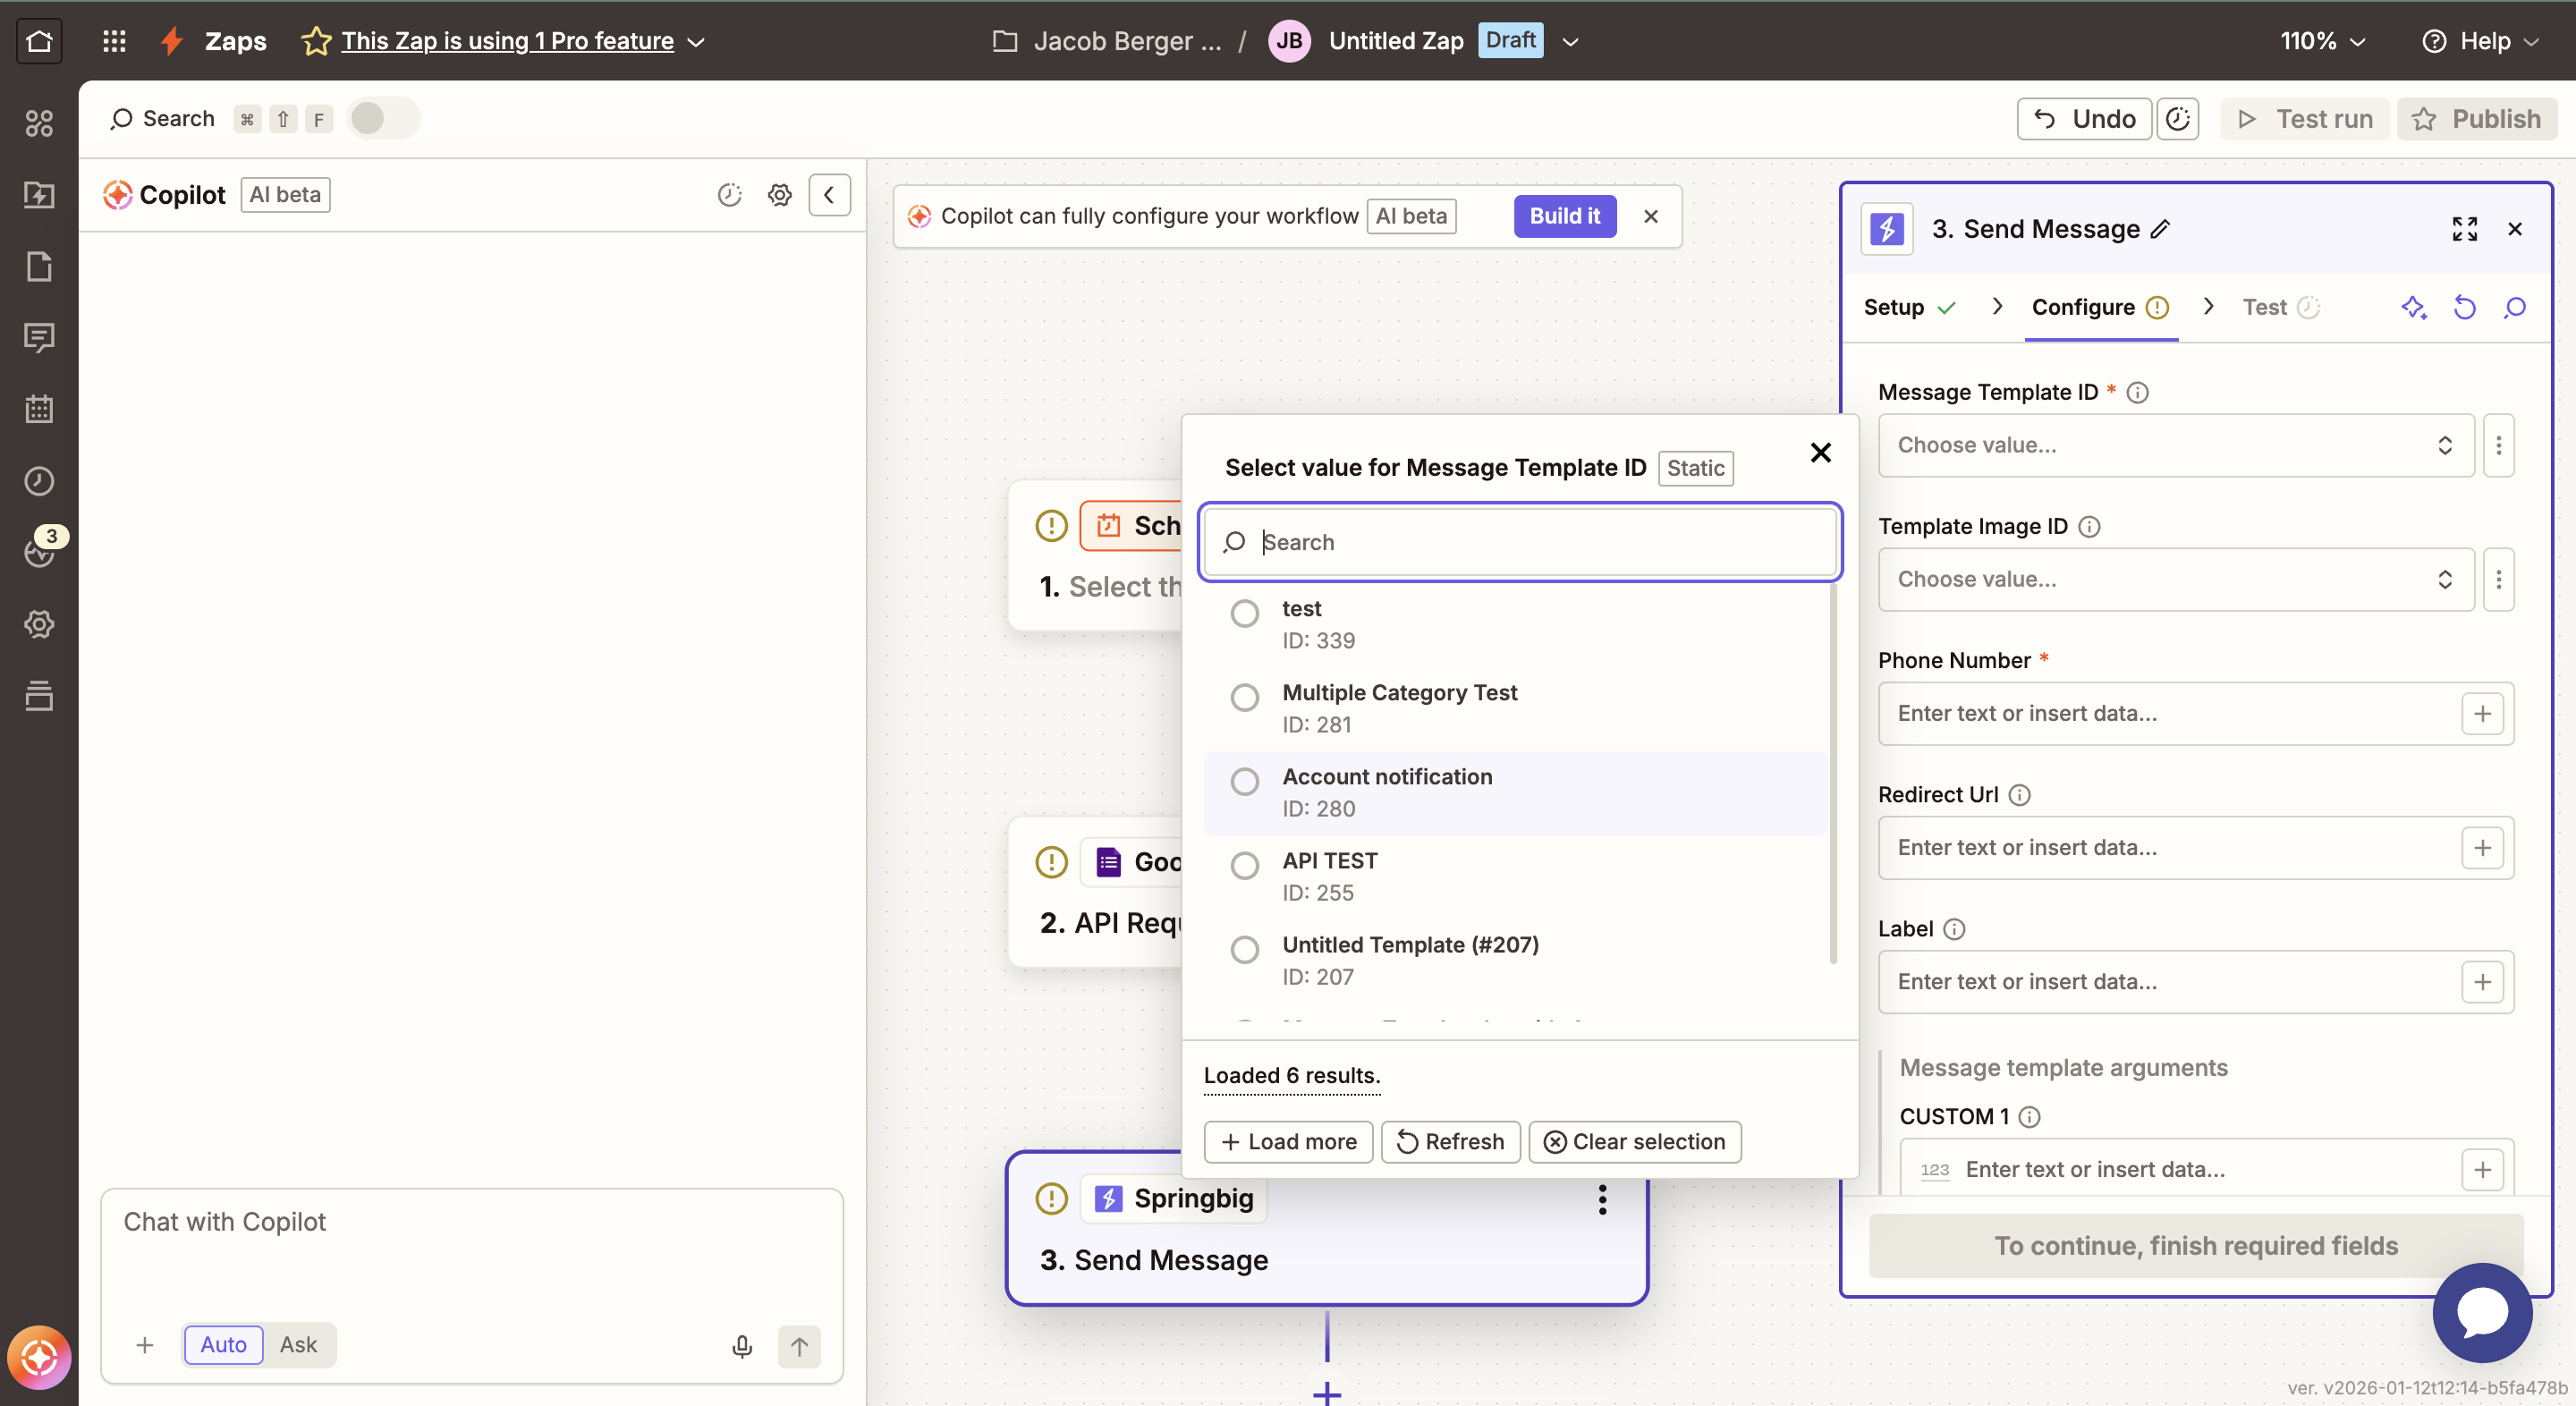
If you choose the Send a Message action, configure the following fields:
Message Template ID
- Select the notification message you want to send.
- The dropdown list displays the message titles saved in Springbig.
Template Image ID
- Choose the image that will be sent with the MMS message.
- You can preview images by opening the URLs shown in the dropdown.
Phone Number
- The member’s mobile phone number.
Redirect URL
- The URL the member will be taken to after clicking the link in the message.
Label (Campaign Name)
- A human-readable name for the campaign.
- This label is used for reporting, so choose clear and descriptive names.
Updated 10 months ago
Did this page help you?