

Setup SMS journeys
🛠 Create a webhook for your Campaign
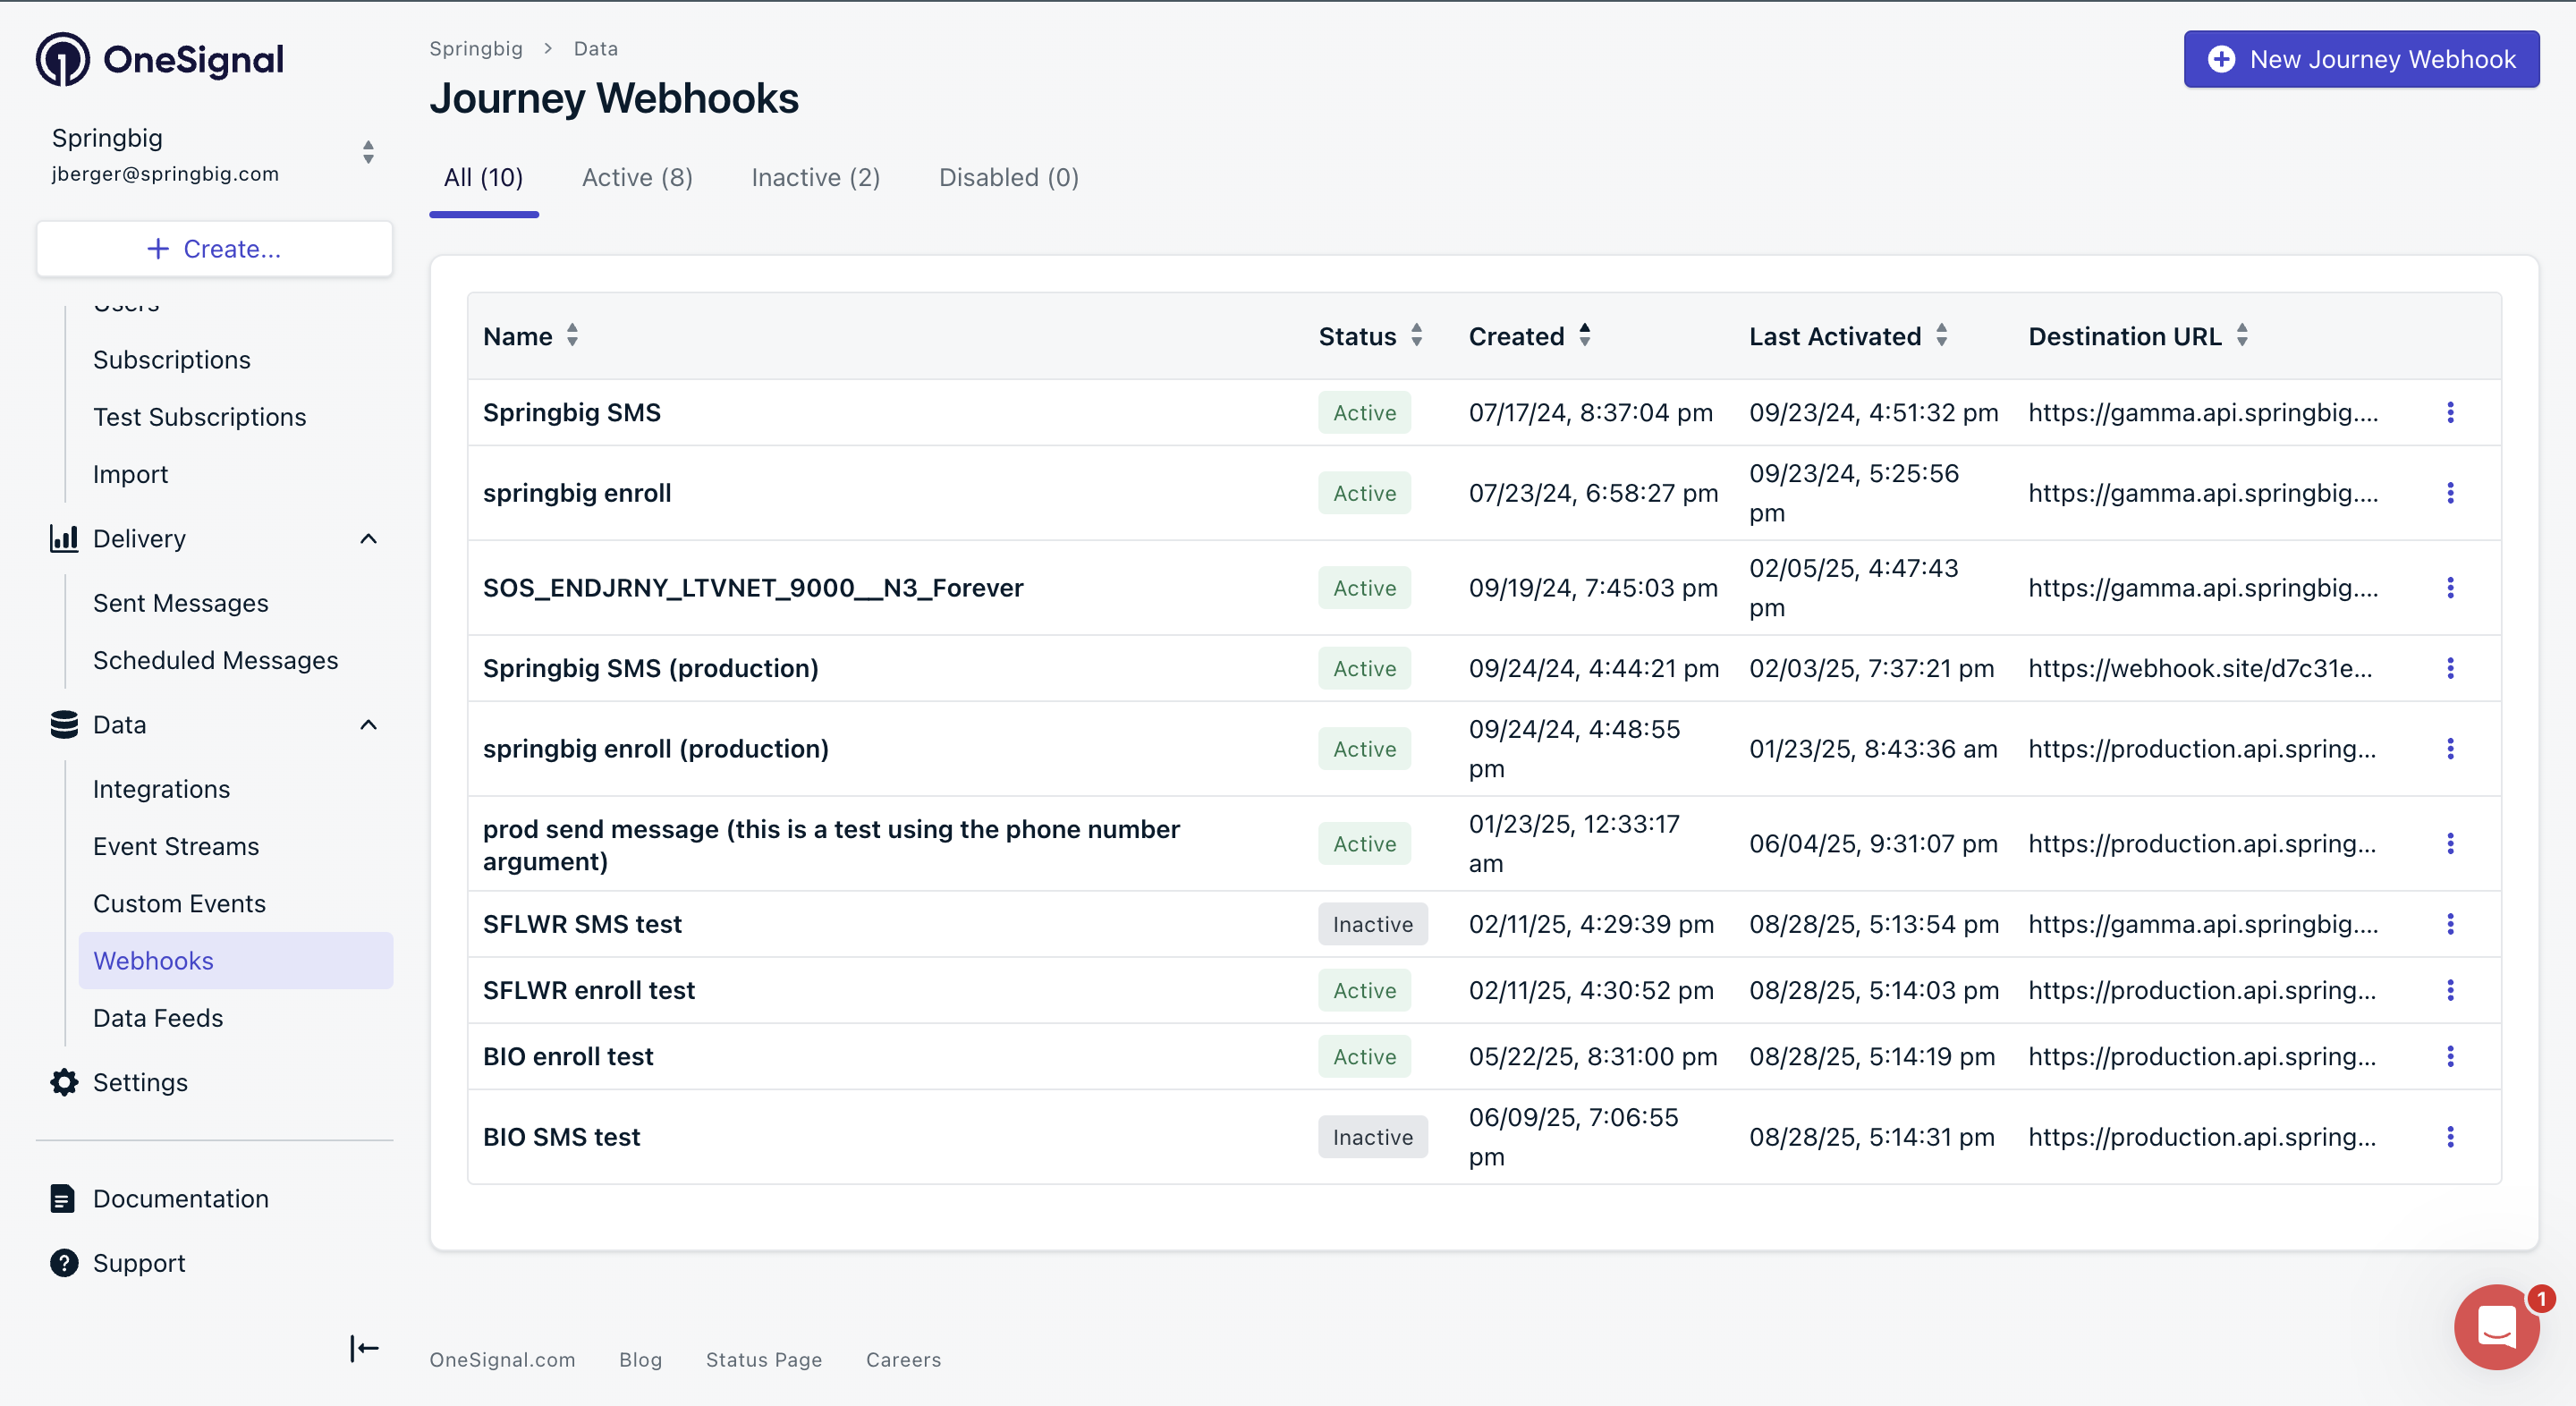
Step 1: Access Webhooks Settings
- In your OneSignal dashboard, locate the menu on the left-hand side.
- Click Data > Webhooks.
- Click New Journey Webhook in the top-right corner.

Step 2: Name the Webhook
- Enter a descriptive webhook name, such as
dormant players 30 days.
Choose a name that reflects the campaign name

Step 3: Configure Webhook Details
- Fill in the fields with the following details:
- Method:
POST - URL:
https://production.api.springbig.technology/general/v1/message_template_logs - Headers:
x-api-key: Contact your Springbig Account Manager for this value.auth-token: Contact your Springbig Account Manager for this value.Content-Type:application/json
- Body: Select Custom Body and enter the following JSON:
{
     "message_template_id": 123,
     "phone_number": "{{user.tags.phone_number}}",
     "redirect_url": "https://yourlink.com",
     "label": "name of campaign",
     "merchant_location_id": 123,
     "template_image_id": 123
}
- Method:
- message_template_id`
- Description: The ID that connects to the template message you would like to send in this flow.
- Ask your CSM for this ID
phone_number
- Description: the number you would like to send to when they come into this flow
Ensure the dynamic tag like
{{user.tags.phone_number}}is consistent with your tagging in onesignal. This is custom based on your platforms configurationredirect_url(Optional)
- Description: the link you would like the take the customers to after they click the url in the message sent. If not included there will be no link in message.
label:
- Description: Campaign name for internal tracking Ex: dormant players 30 days
template_image_id(Recommended)
- Description: The ID that connects to the image you would like to send in this flow.
- Ask your CSM for this ID
🛠 Setup SMS Enrollment Journey
We will go through an example of creating a new journey; However, you can also add the SMS webhook previously created to an already existing journey. For example, if you have a journey to send a push notification to customers who are inactive for 30 days, you can add on to that existing flow to then send a follow up SMS if they are still inactive.
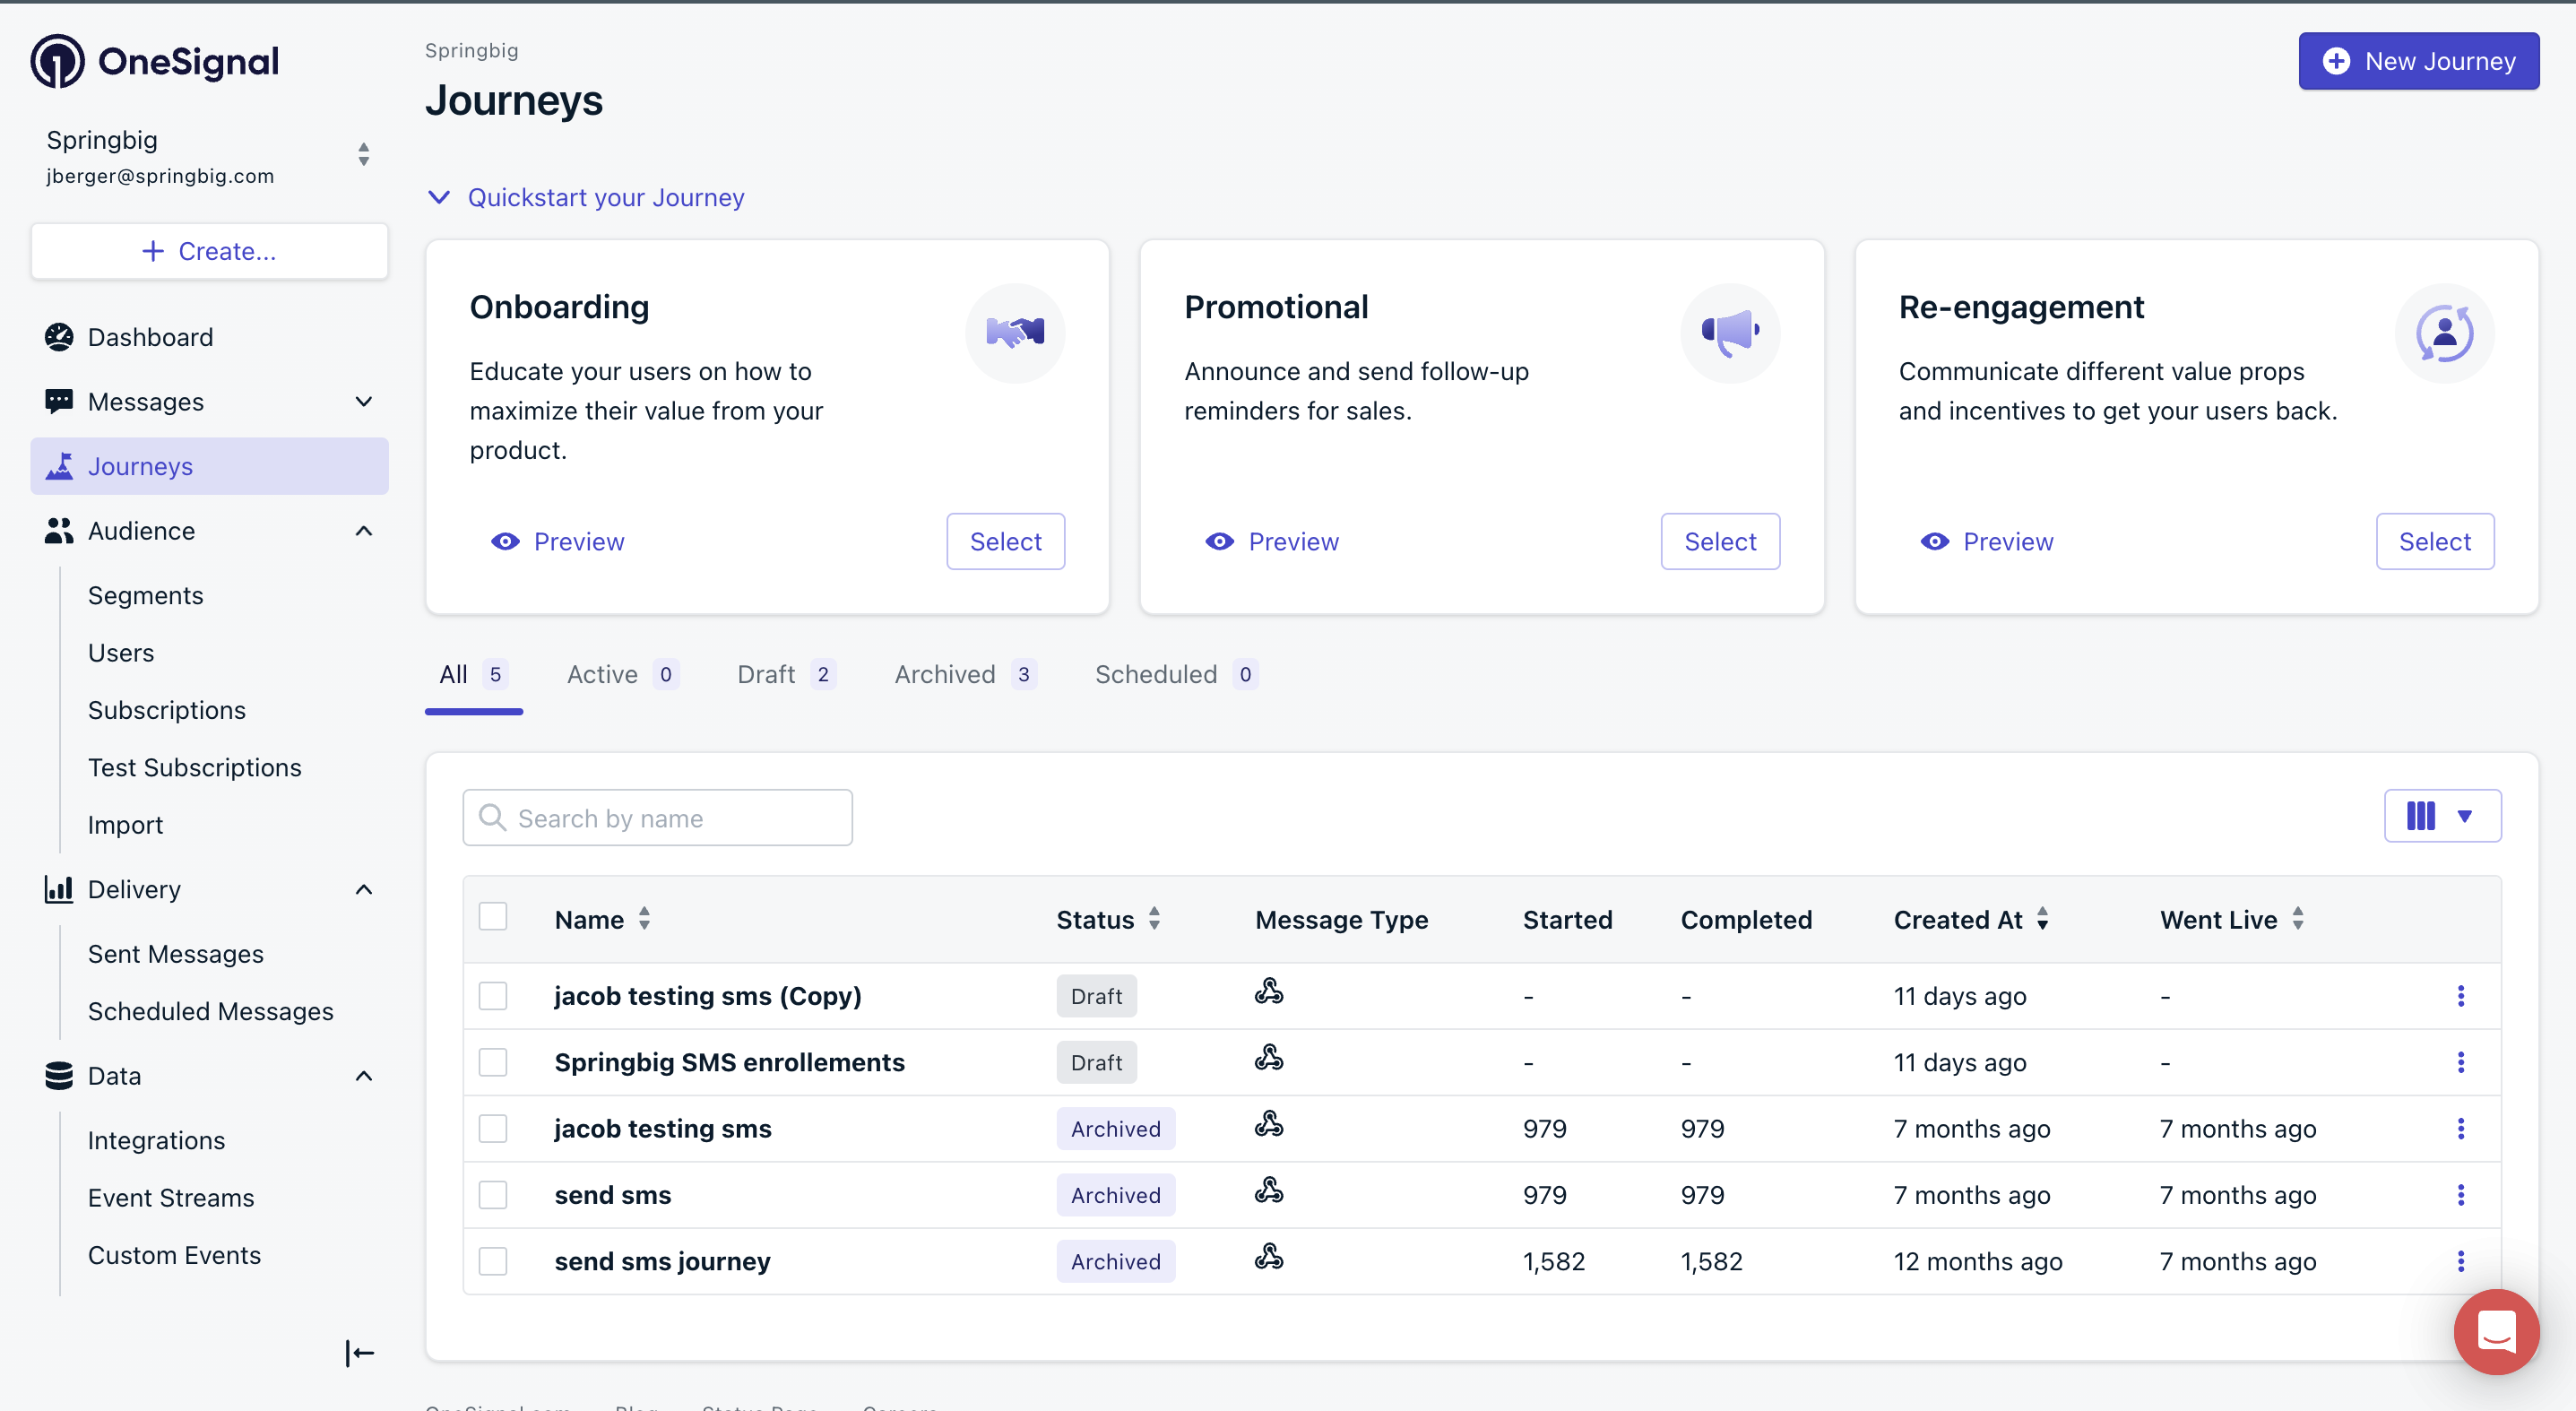
Step 1: Access Journeys
- In the OneSignal dashboard, locate the left-hand menu.
- Click Journeys.
- Click New Journey in the top-right corner.
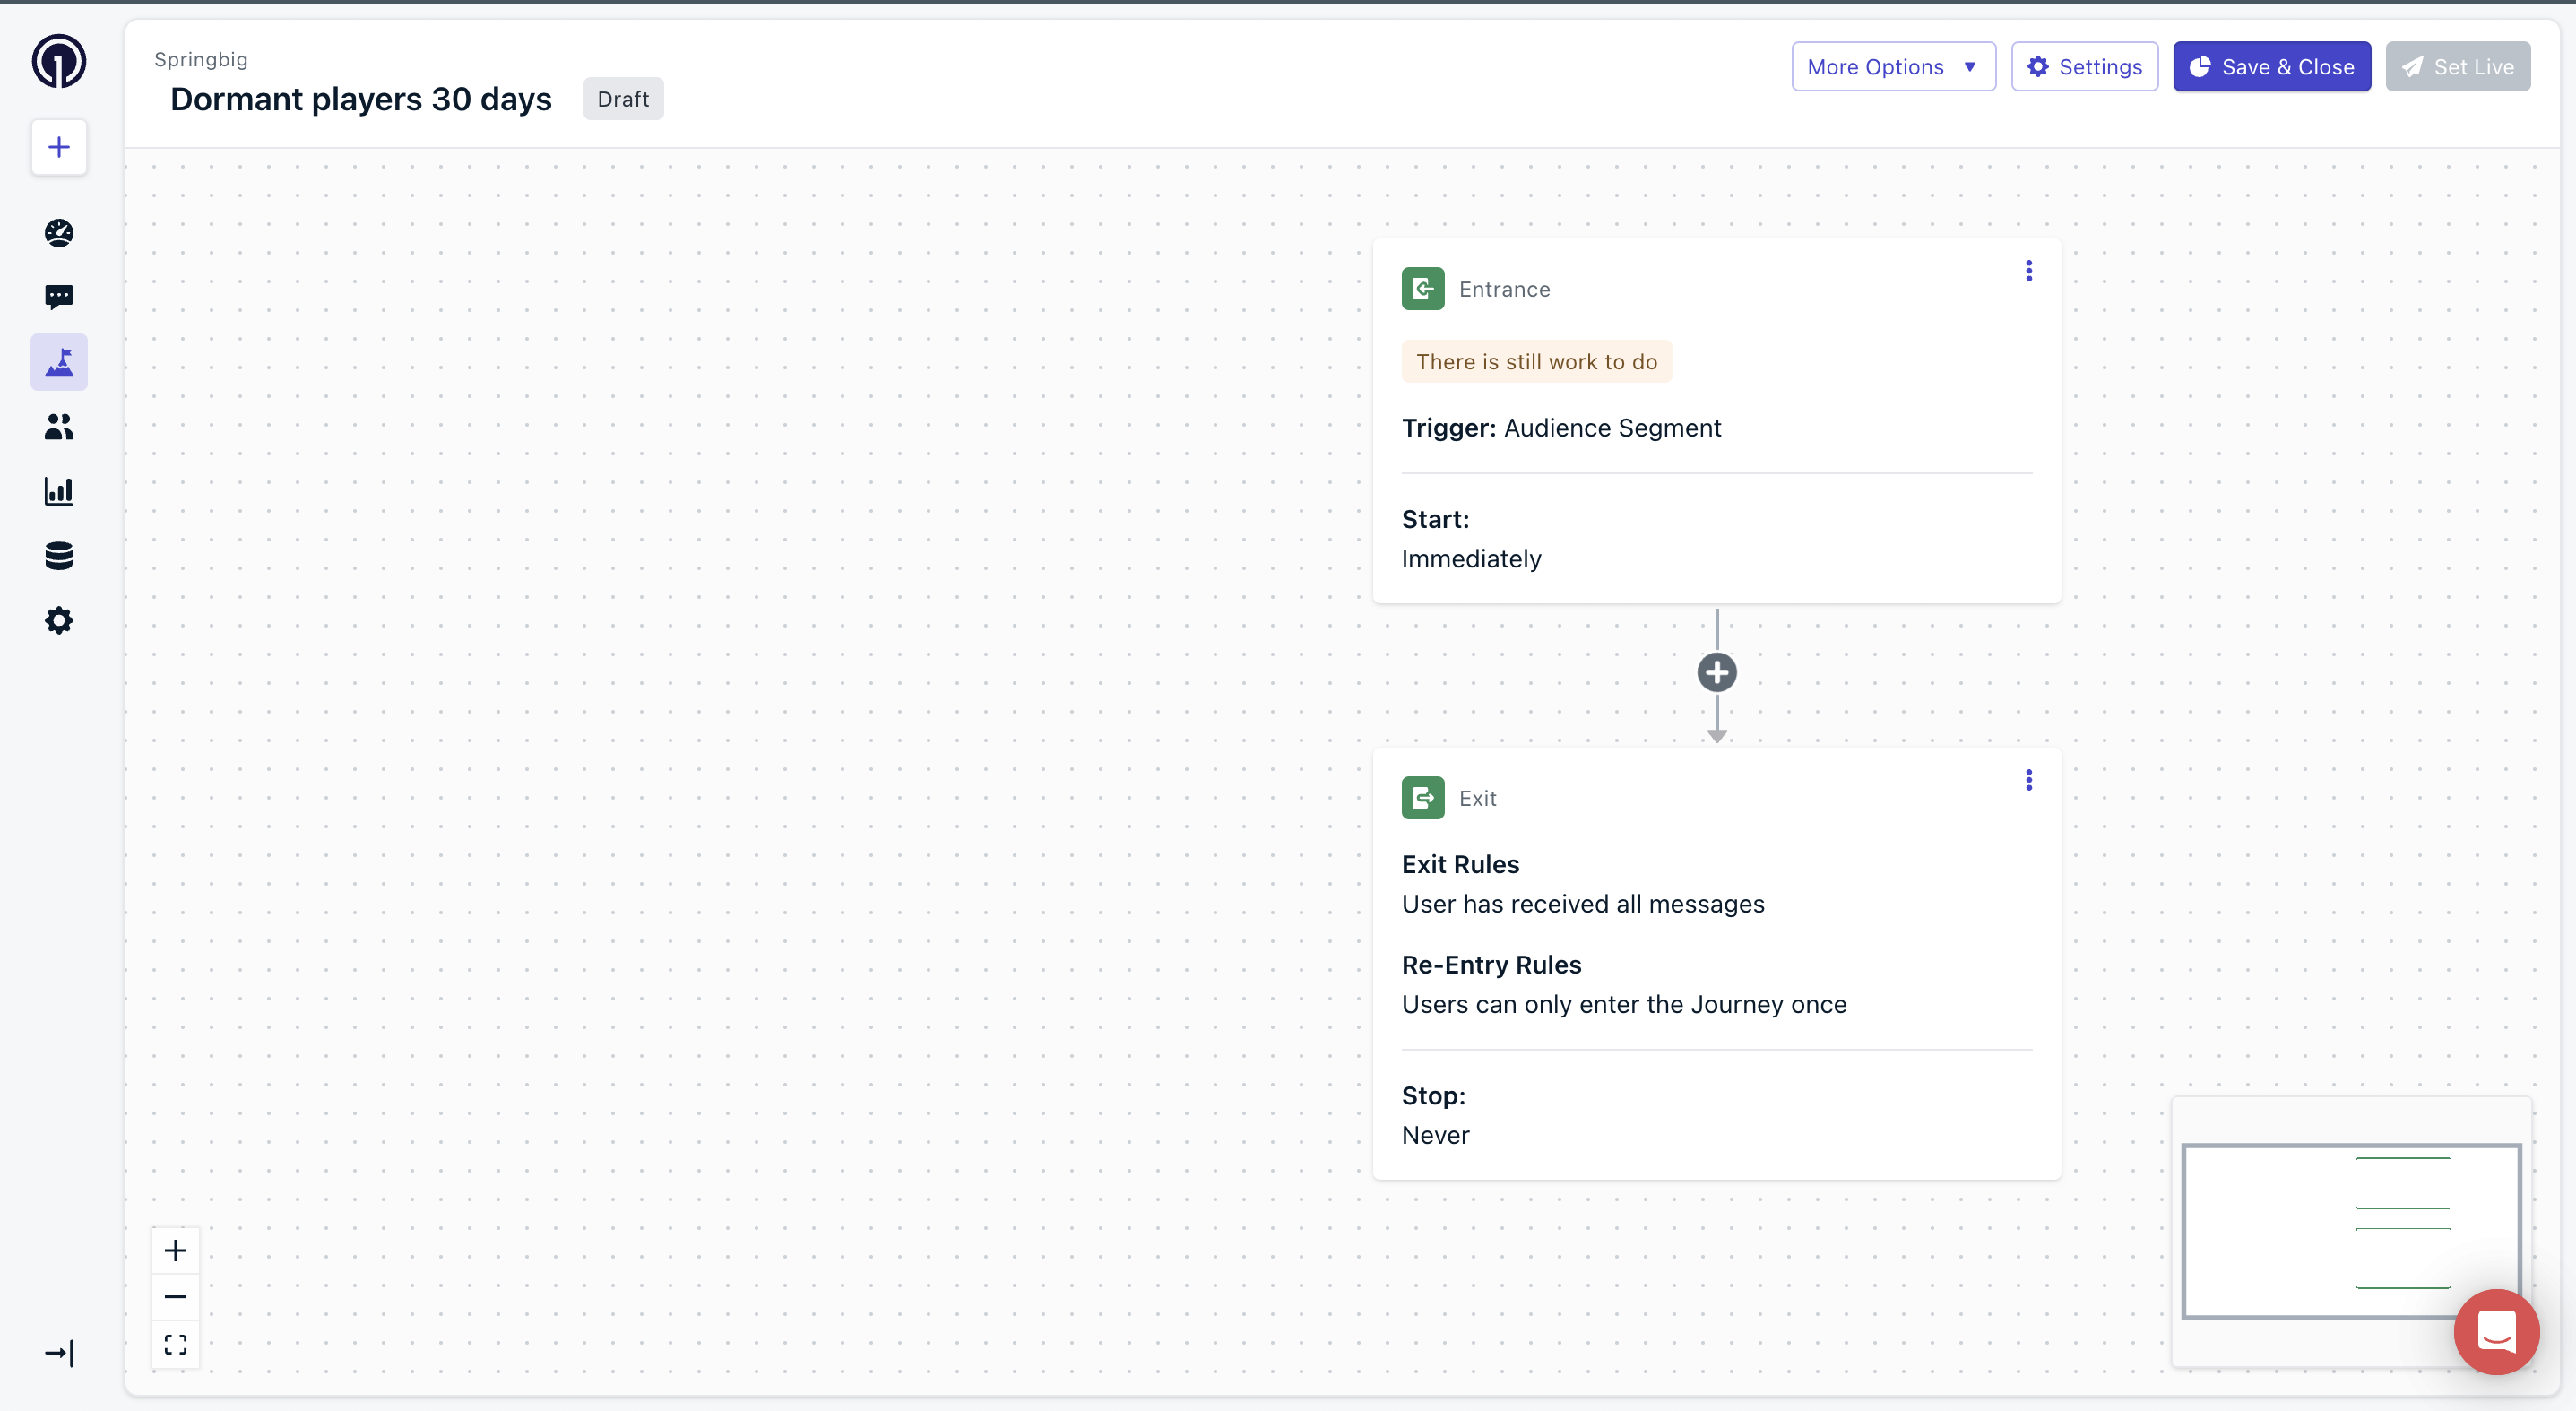
Step 2: Name the Journey
- Enter a journey name, such as
dormant players 30 days SMS. Use a clear name to reflect the journey’s purpose of sending and SMS campaign to a group of users.
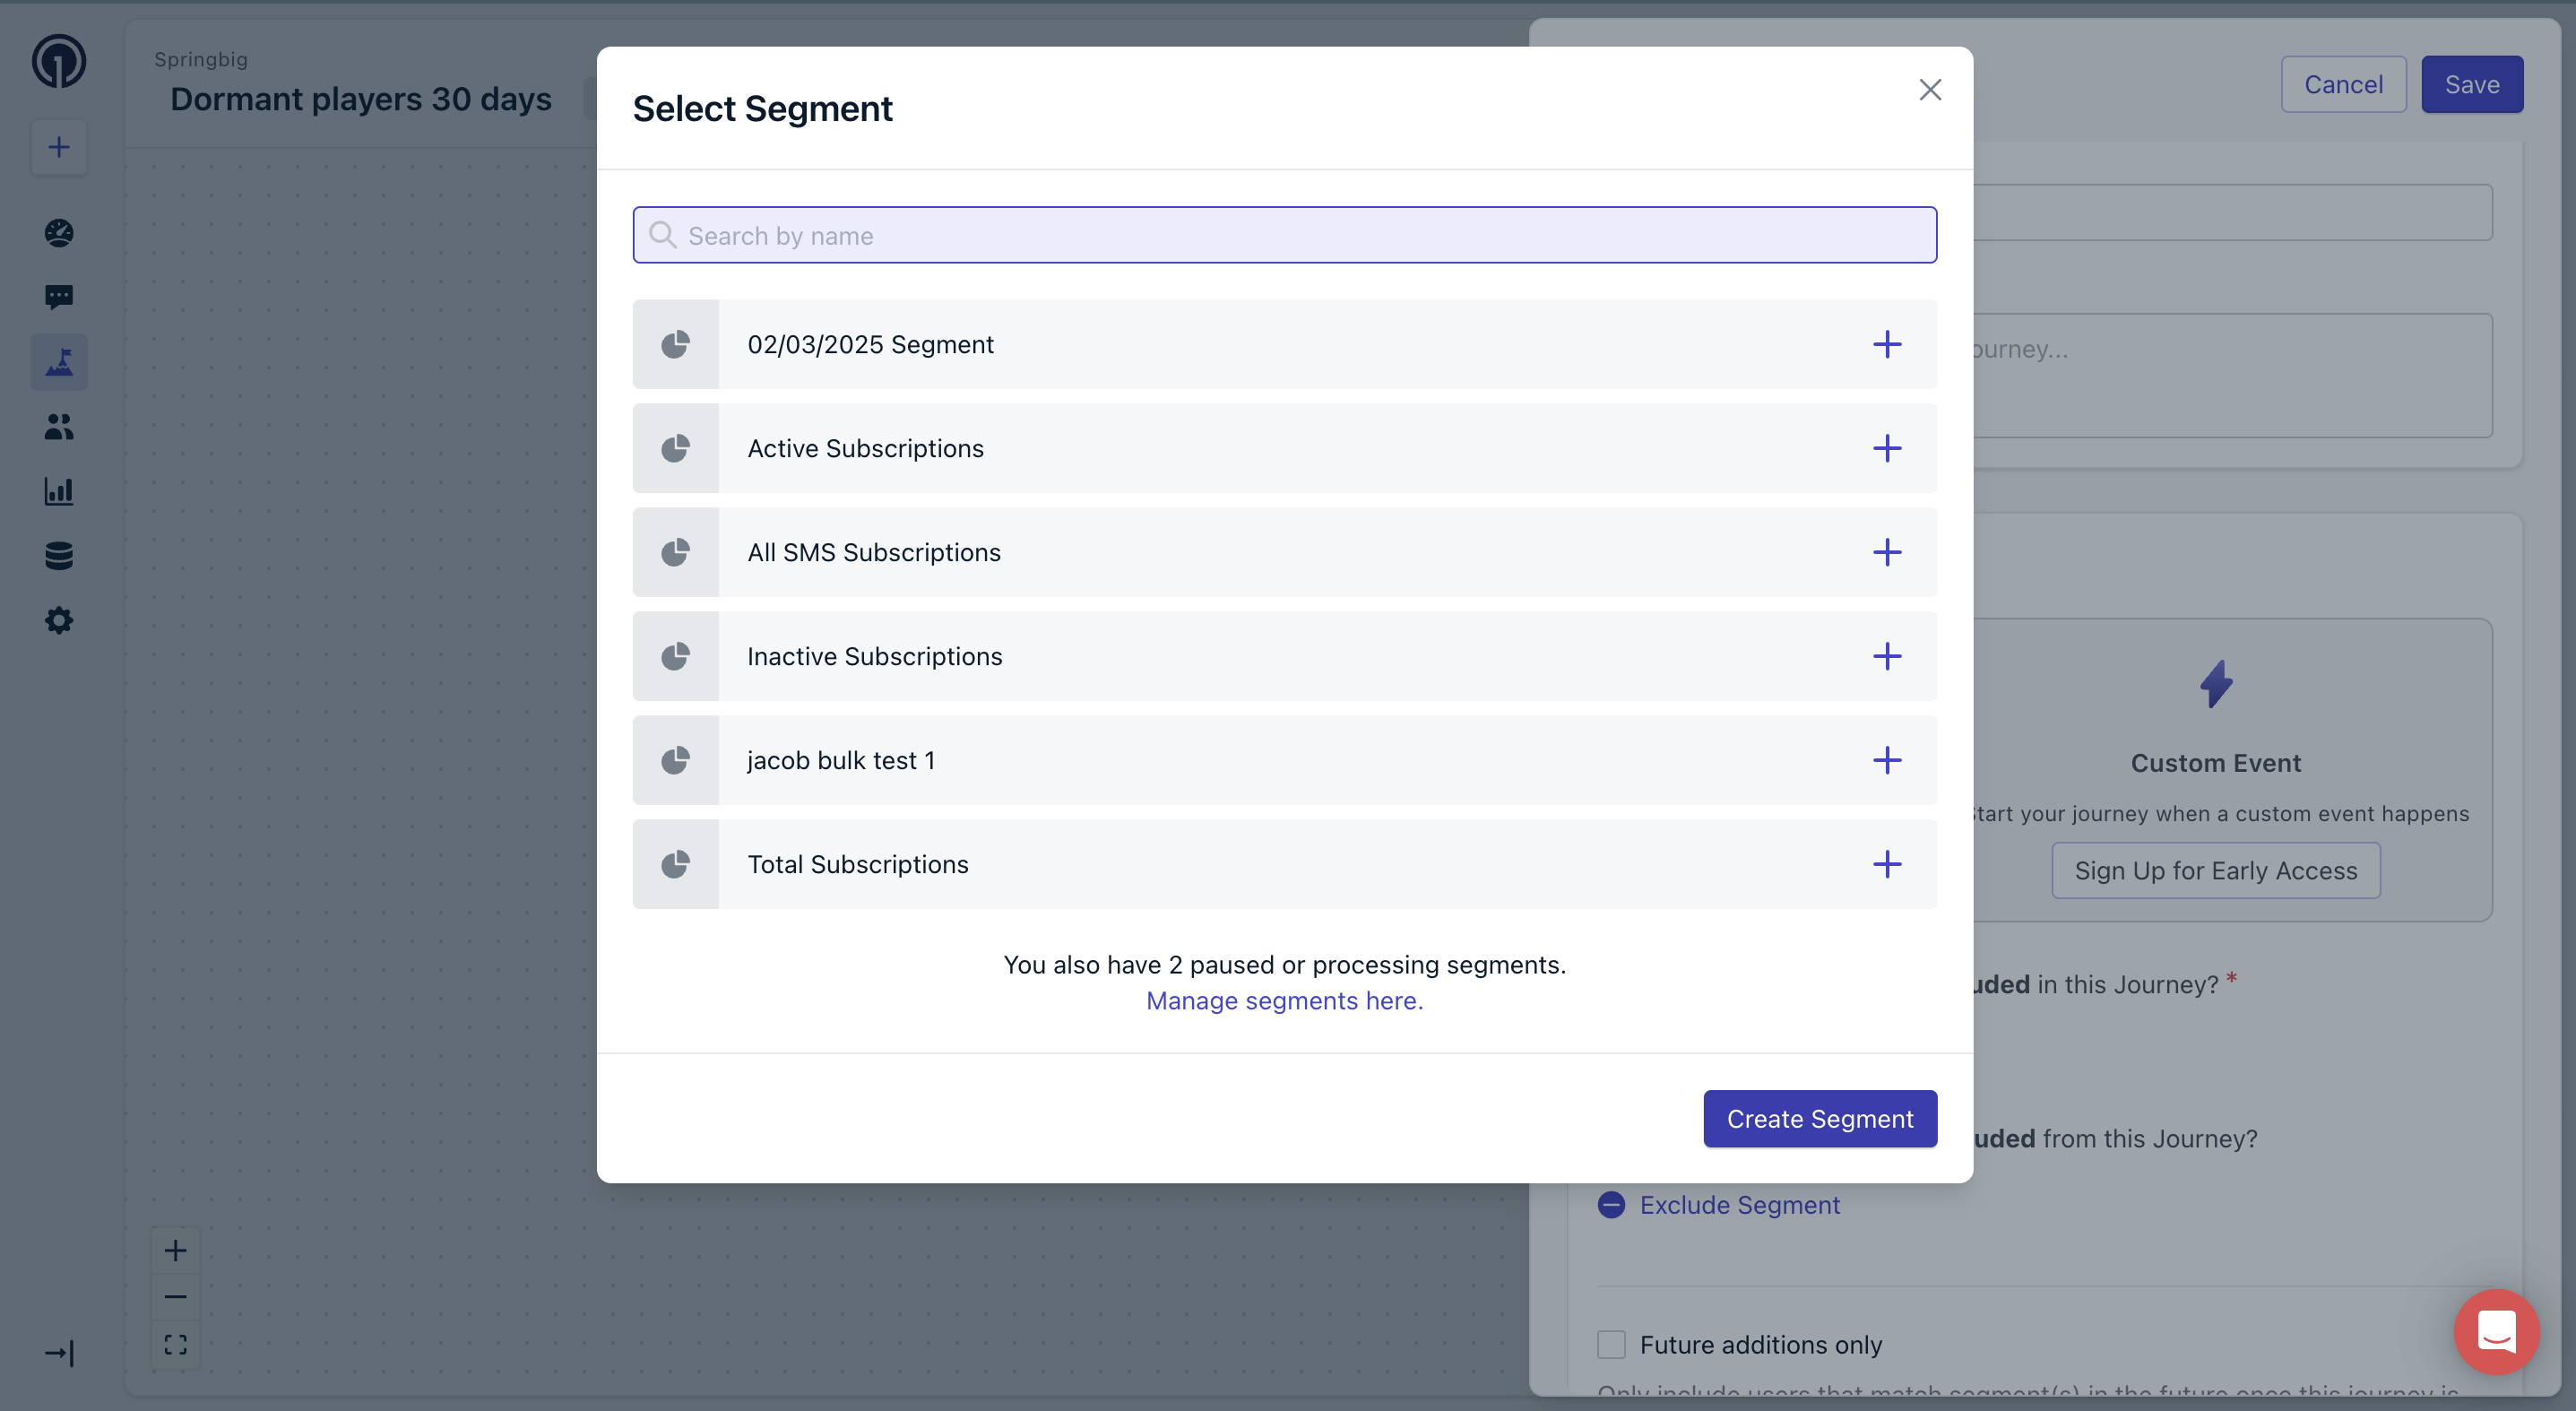
Step 4: Define Segment(s)
- Select the segment(s) of users who meet the desired conditions for SMS campaign (e.g., new signups, dormant players, win back, high spenders etc).
The segment should be users who have enrolled and expect to receive SMS campaigns.
Step 5: Add Webhook Action
- Click the plus sign in the journey editor.
- Select Webhook to add a webhook action.
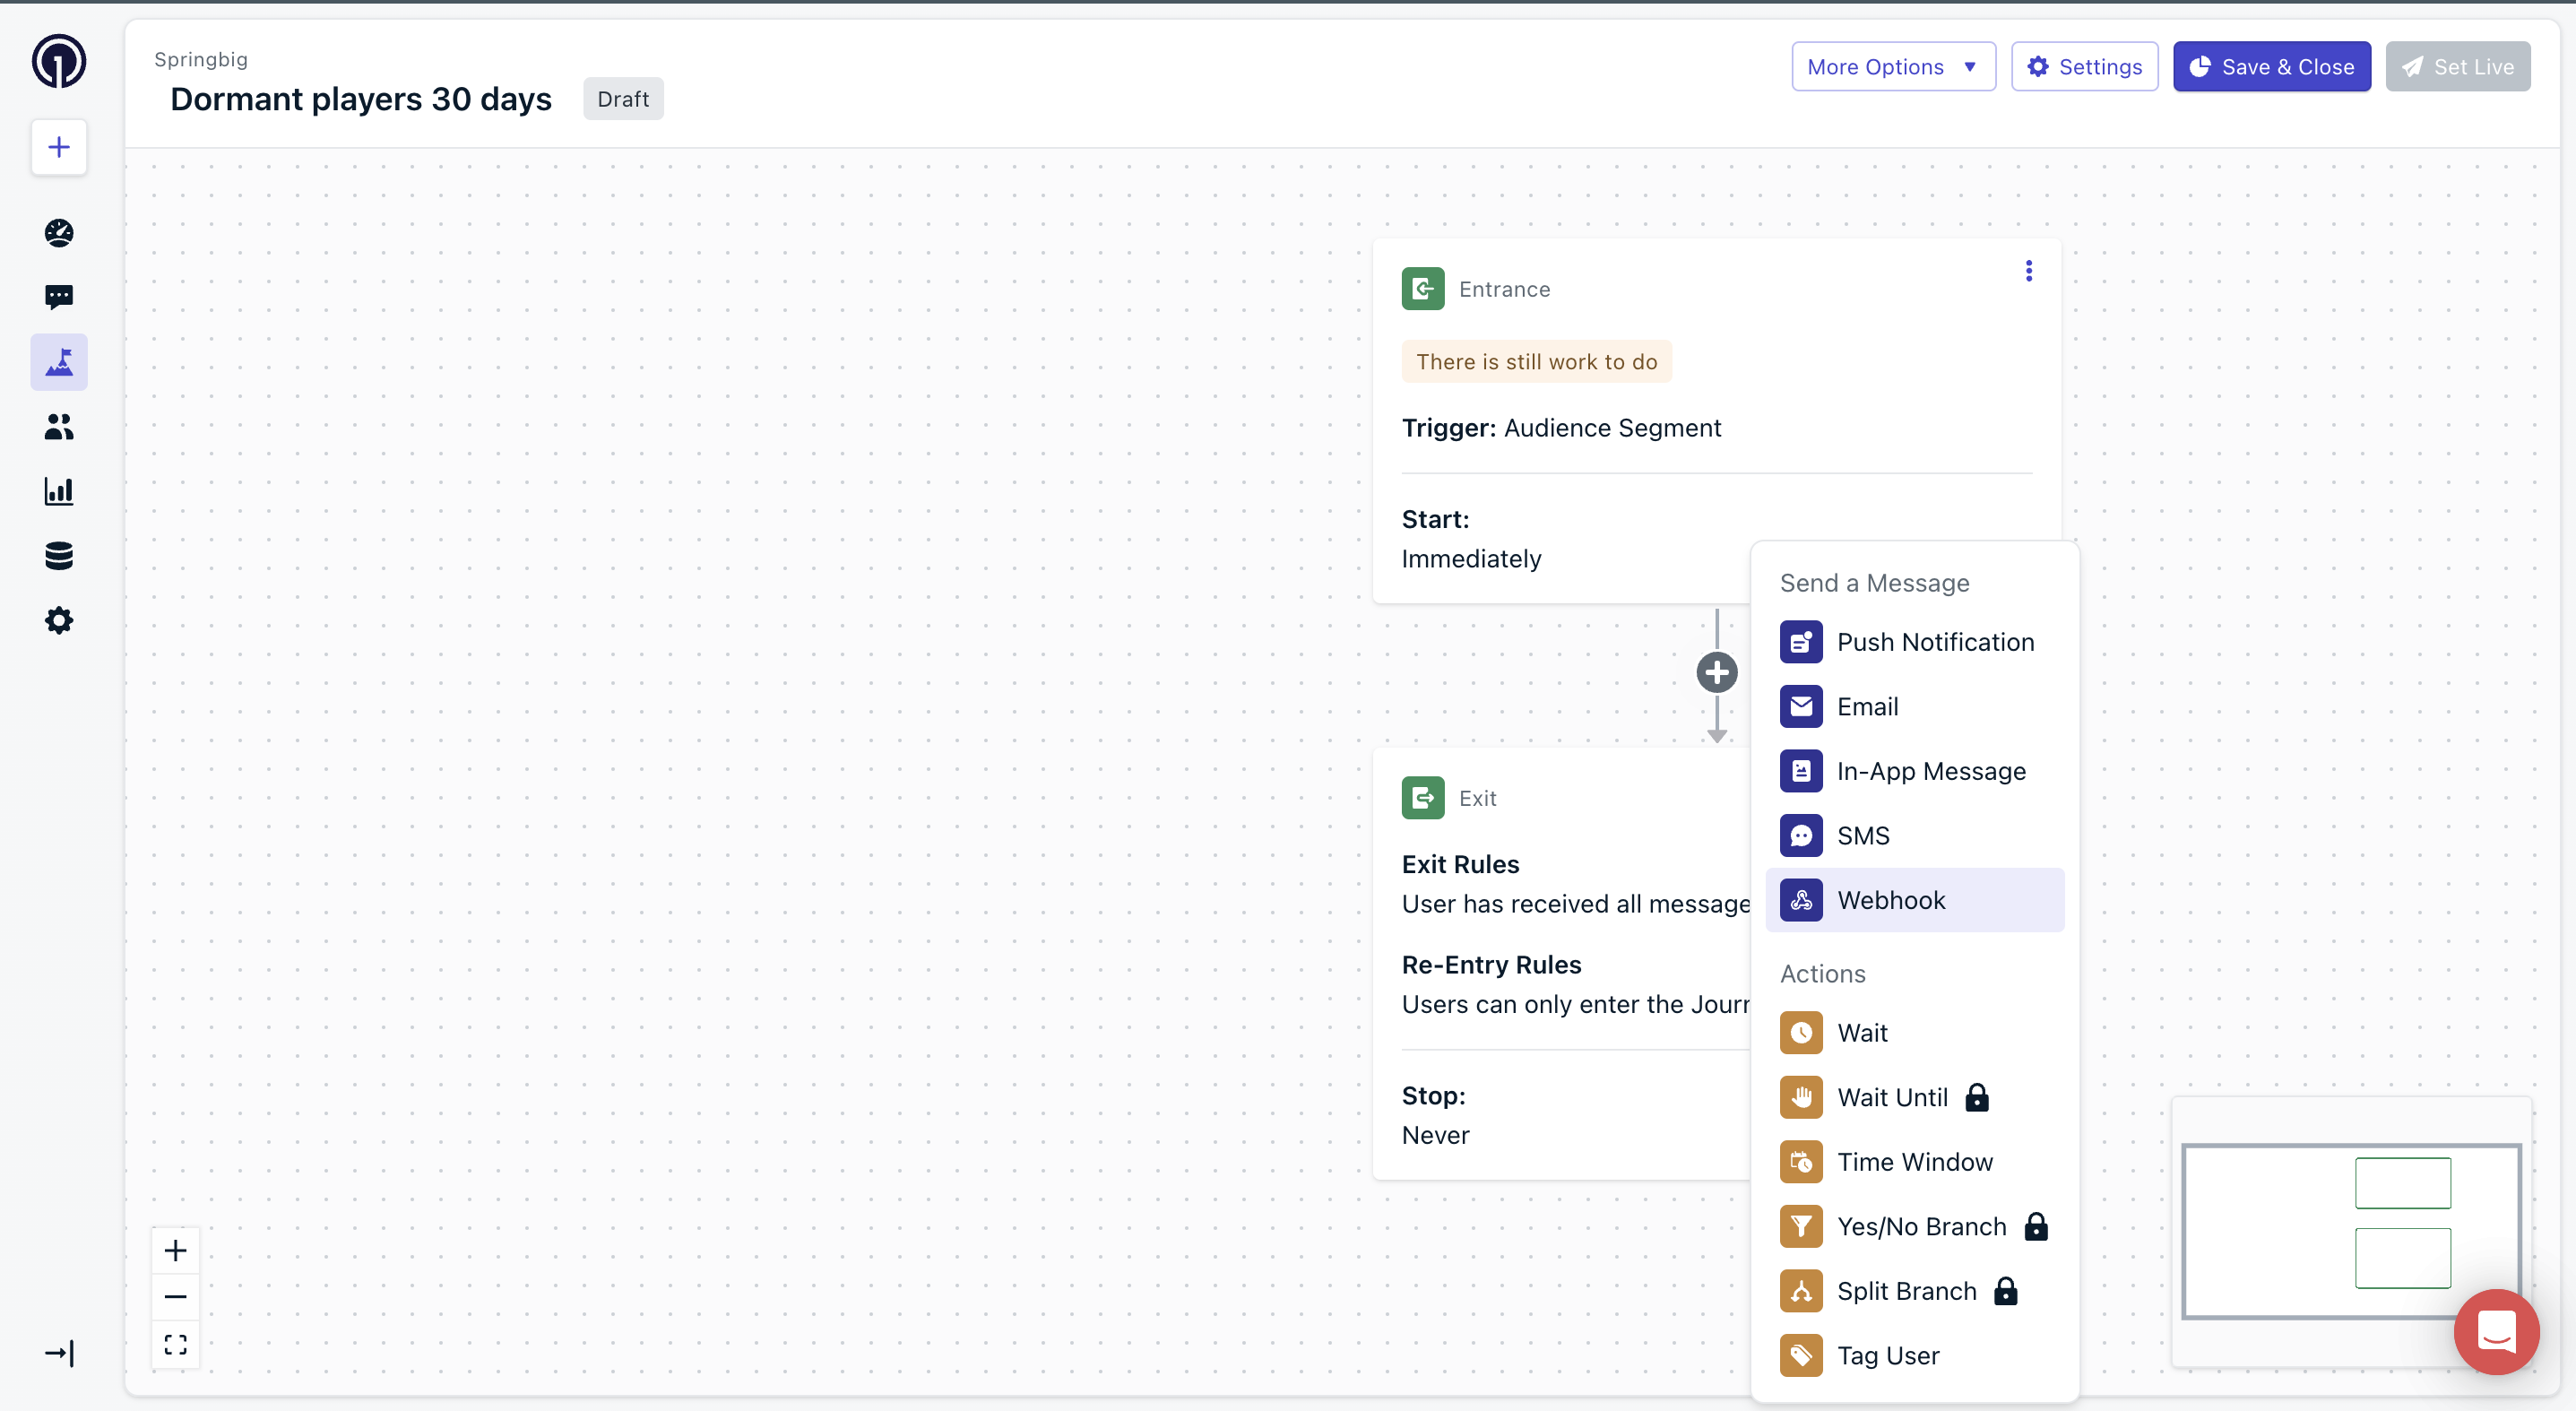
Step 6: Select the campaign webhook
- Choose the webhook created earlier (e.g.,
dormant players 30 days SMS).
Ensure the selected webhook matches the one we configured previously. This is the SMS campaign that will go out to each user that enters the journey
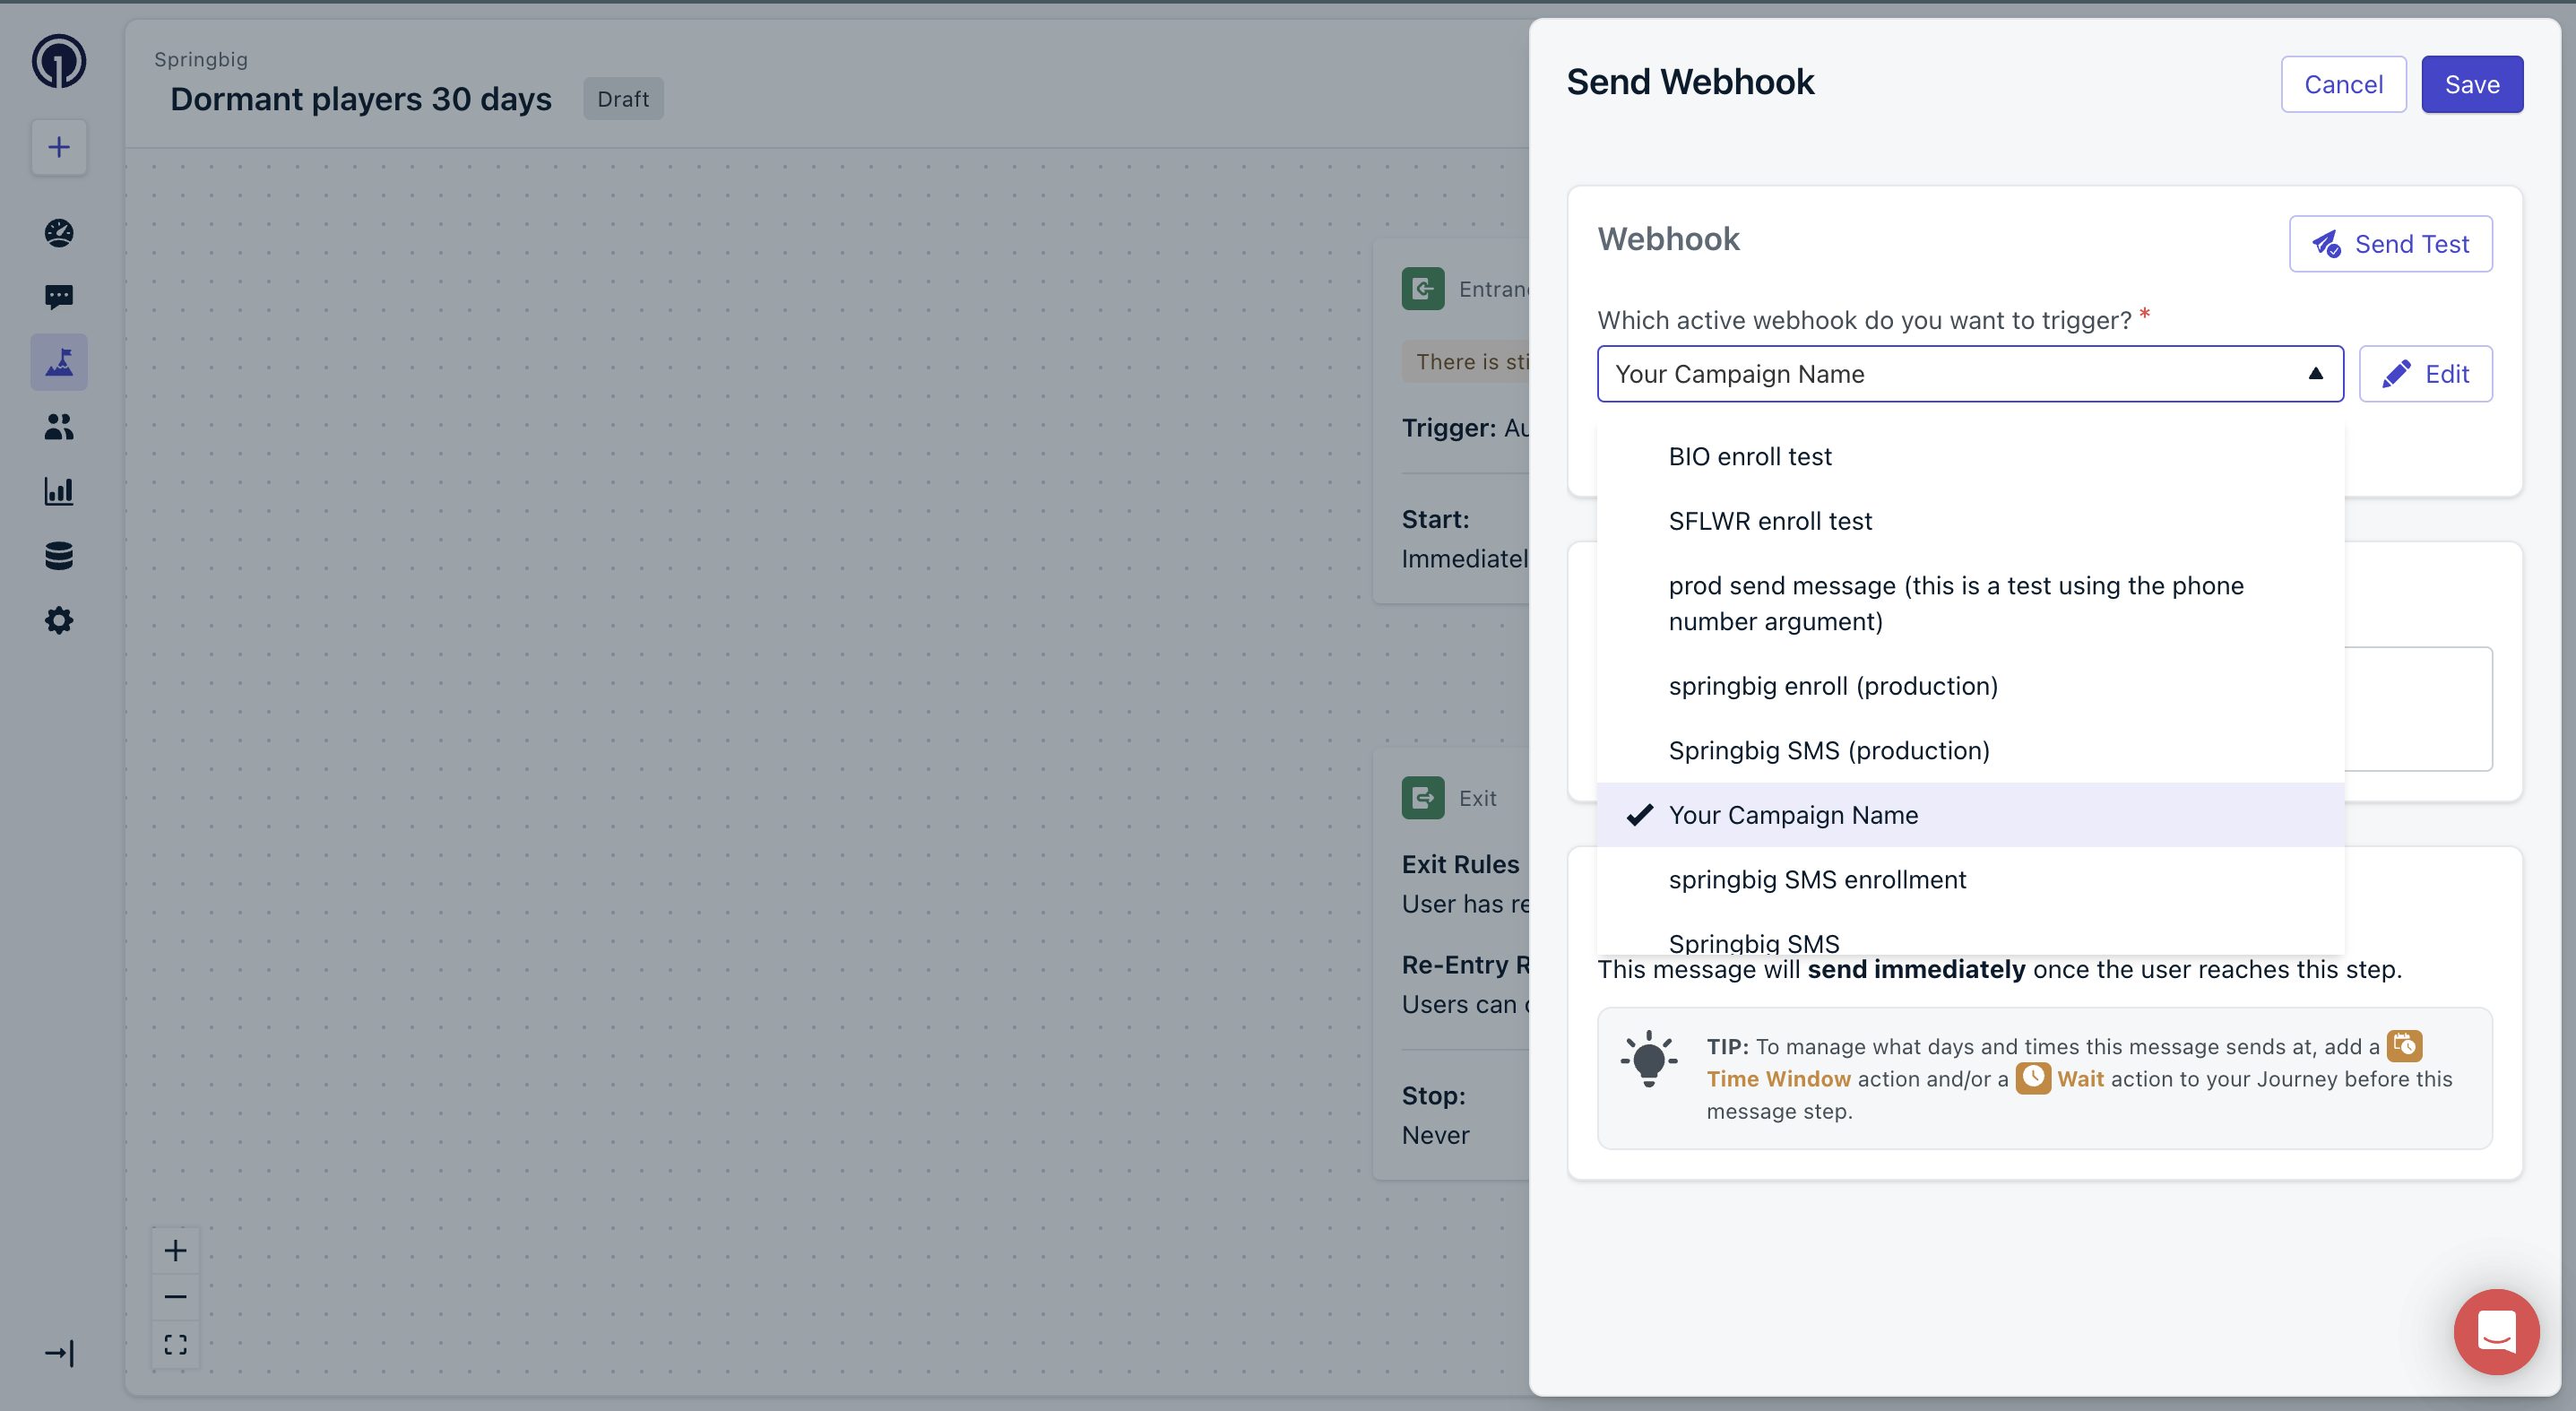
Step 7: Save and Close
- Click Save and Close to finalize the journey setup.
Your SMS enrollment journey is now live, automatically syncing segmented users to Springbig for SMS campaigns!
Updated 11 months ago